|
Building the House (updated 04 July 2011) New Website Selling
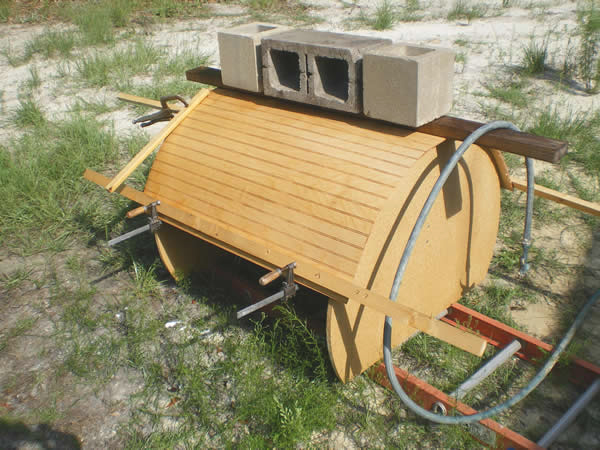
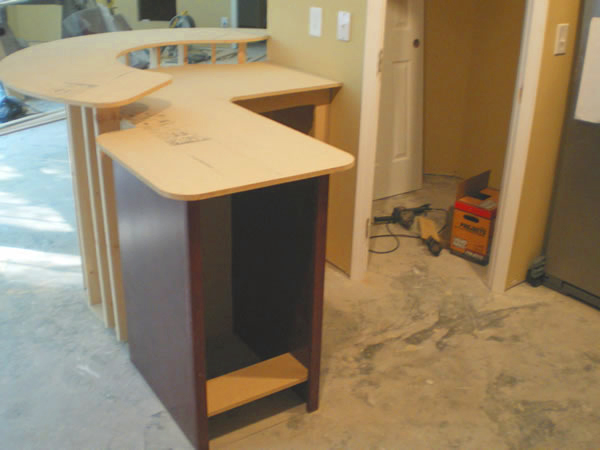
"DryStacked Construction Handbook" There are some new old movies at the bottom of this page for the Grand Children. Day-5 - 3 July 2011 - Awaiting second piece of wainscot
bending and counter tops. Bending wainscote using water and clamps in the hot
Florida sun.
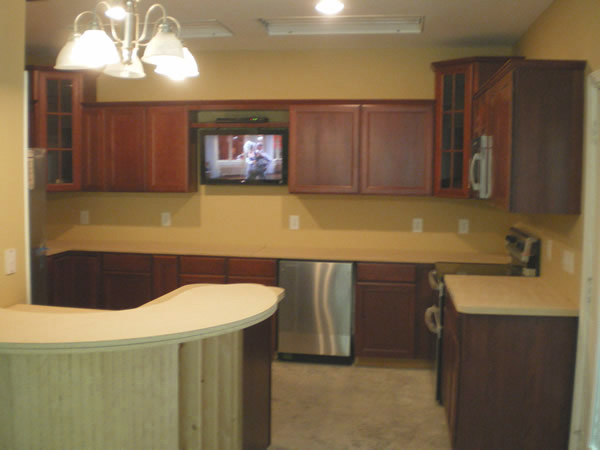
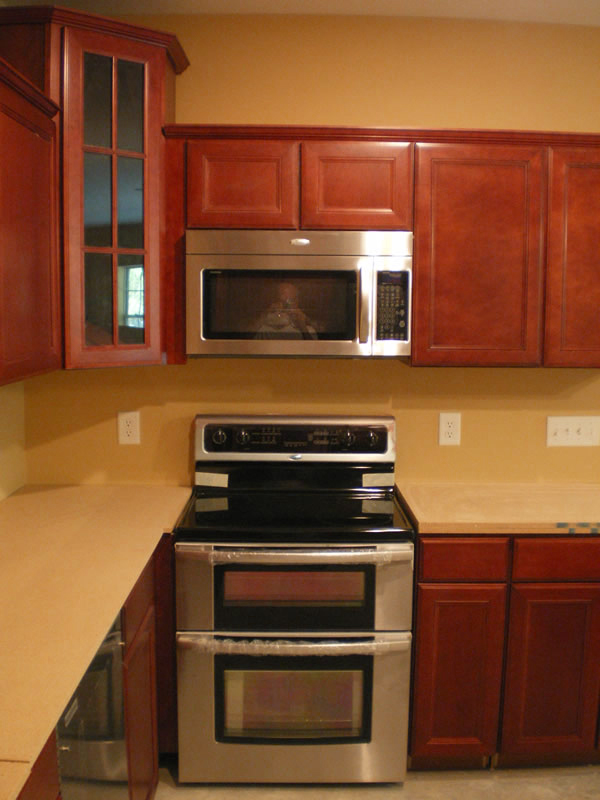
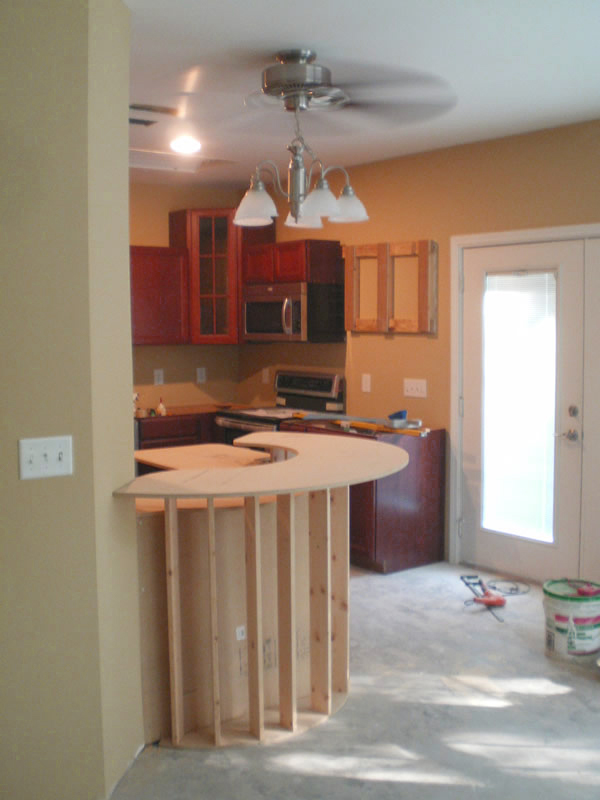
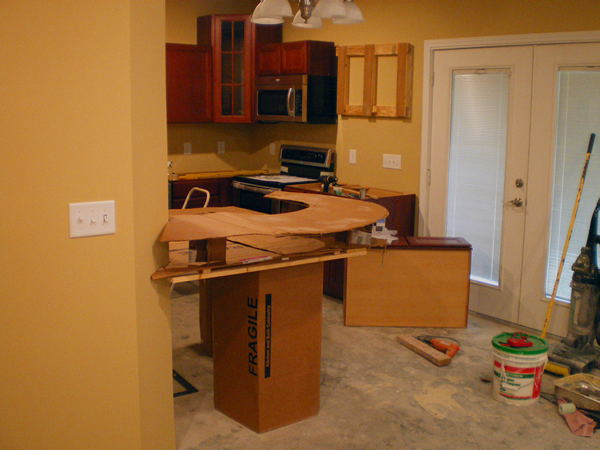
Whirlpool Gold double oven range.
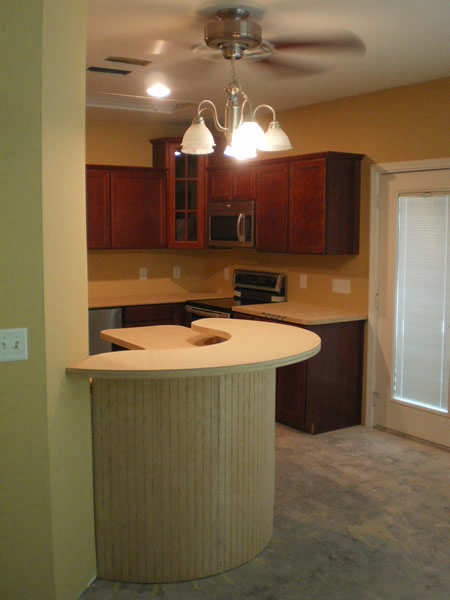
Door behind bar goes into the pantry.
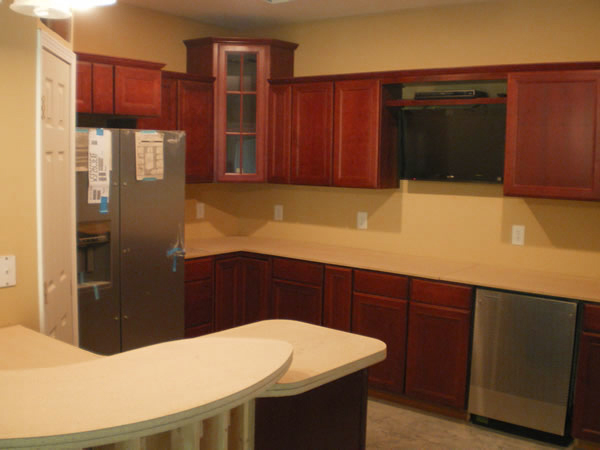
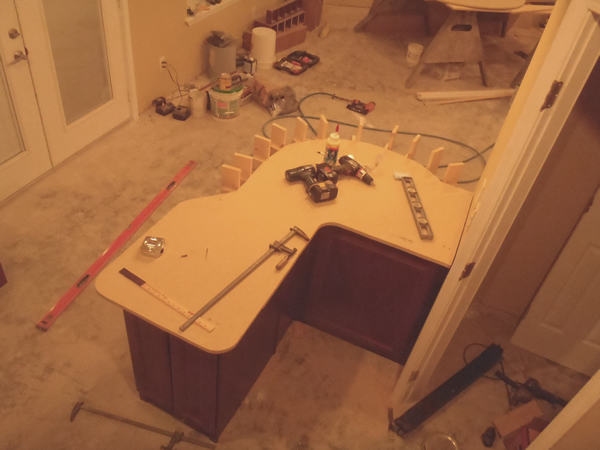
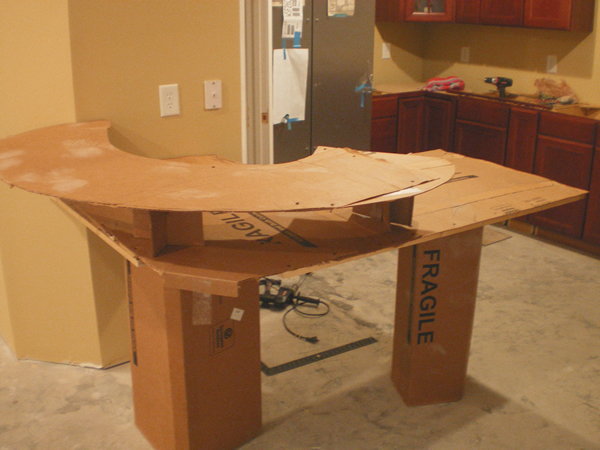
Day-4, 2 July, 2011 - Ceiling view, base cabinet is
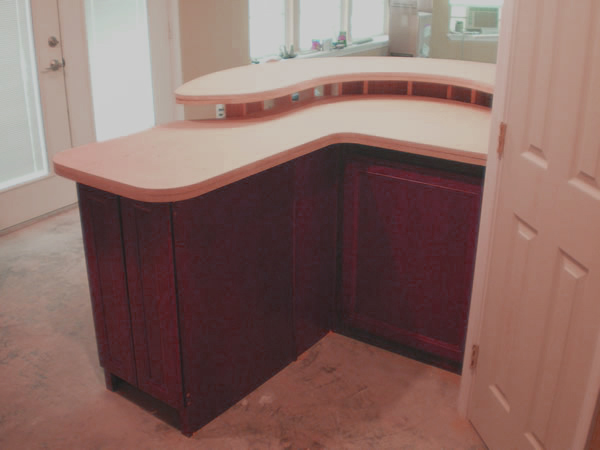
complete except for the wainscote under the circular bar. Day-3, 21 June 2011. Base cabinet completed. Day-2 Particle board fabrication of all three components.
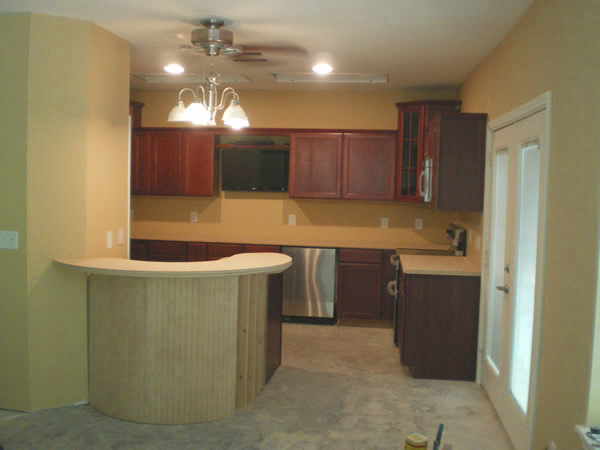
As viewed from the cooking range.
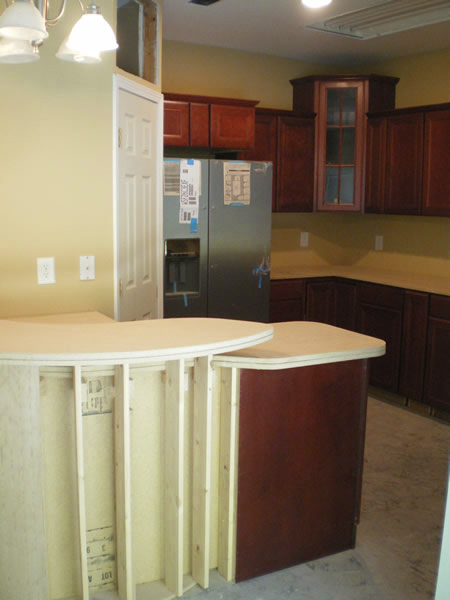
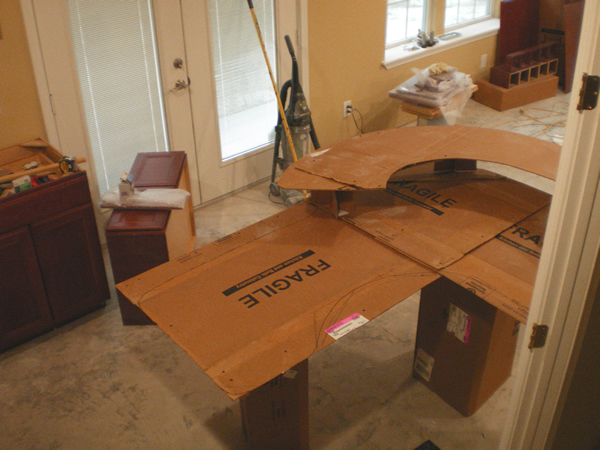
As viewed from in front of the fridge. Lower counter
top will be smaller than the cardboard. As viewed from Great Room. Circular base will have vertical
wood lath panel in Cherry wood. Mud Sanding Completed Sheet rock update Sheet rock side lift device Porches and Sidewalk Landscaping Hauling dirt for sidewalks and porches
Sheet Rock Job in Progress
Ceiling Lift for Sheet Rock
Doors, Windows and A/C Ducting installed.
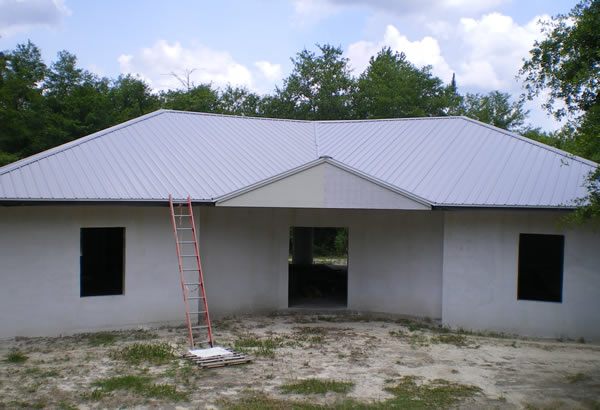
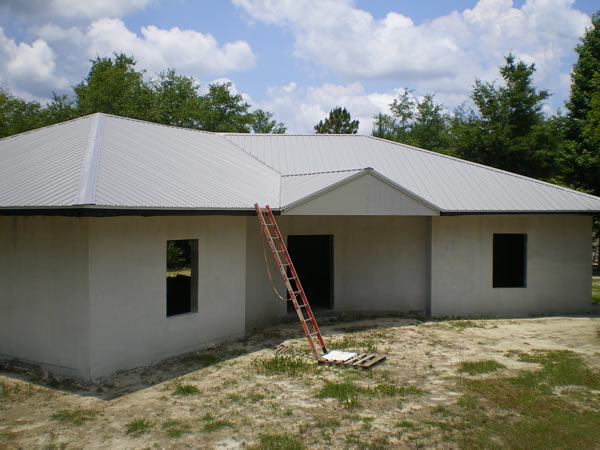
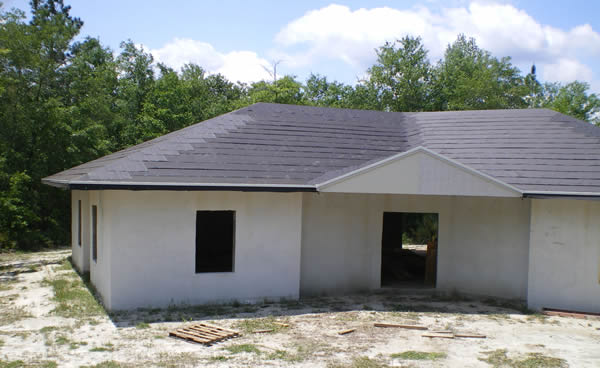
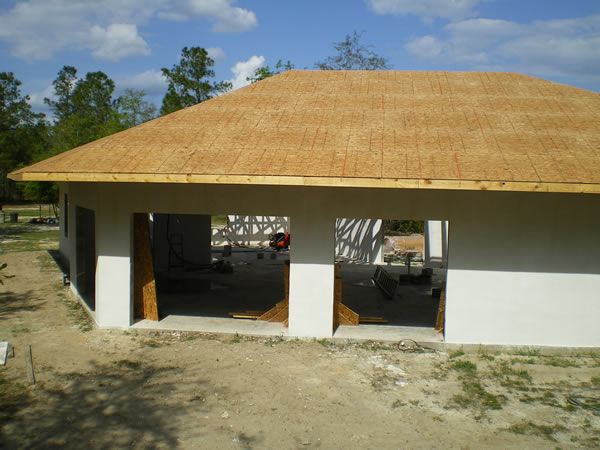
Wall studing and rough-in plumbing Sample "Surface Bonding Cement" Video Sample "How to Drystack a Block Wall" Video Front view of front porch. A pillar will be on each
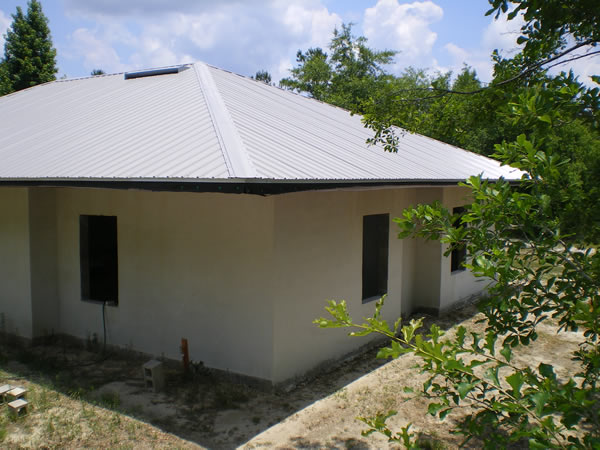
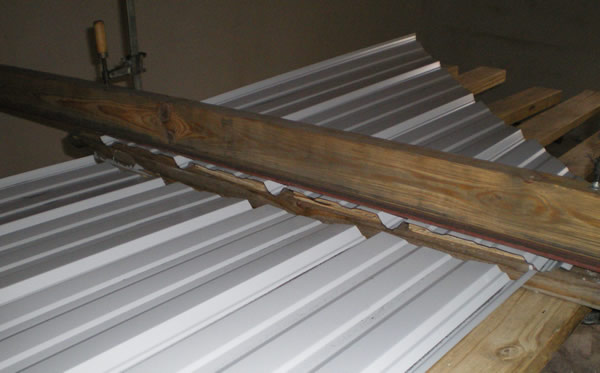
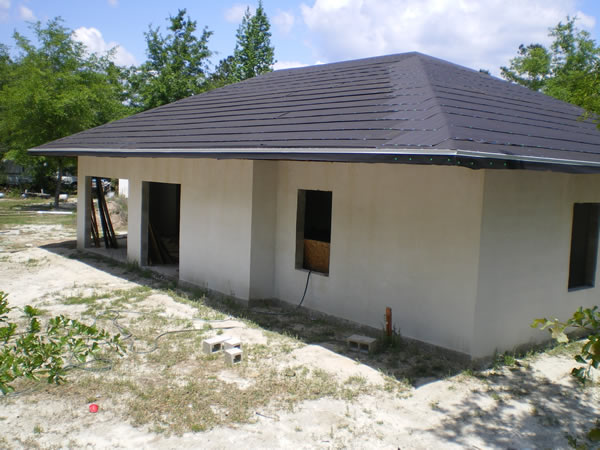
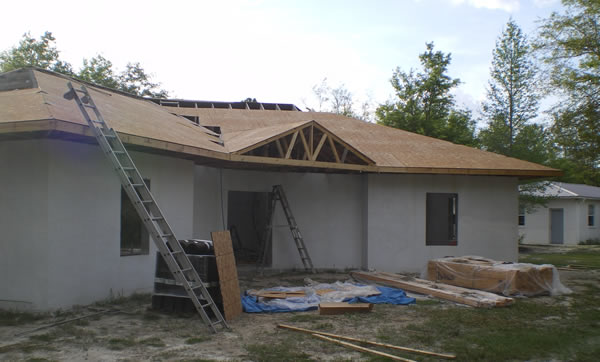
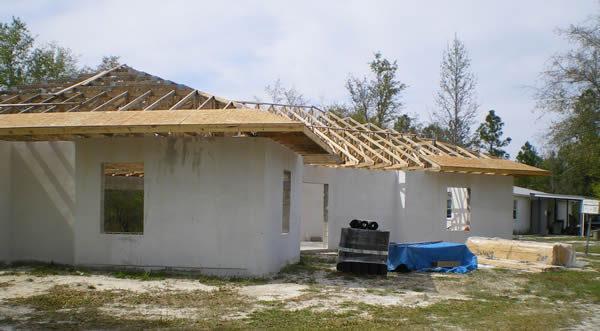
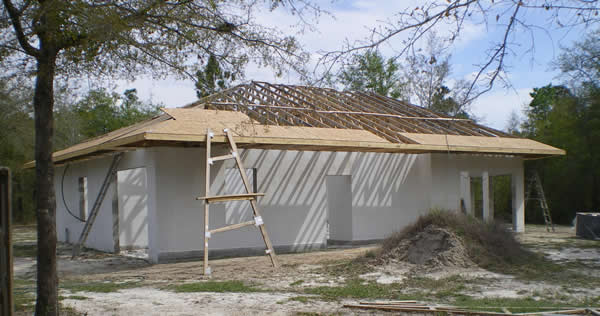
side of the front porch. Front of house faces east. South west corner of house. Alignment of first metal sheeting. Cutting the metal roofing using a skill saw and metal
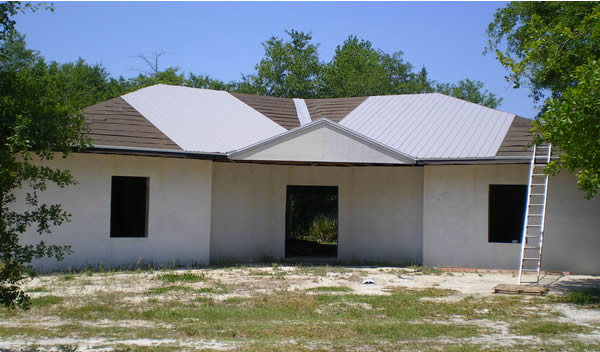
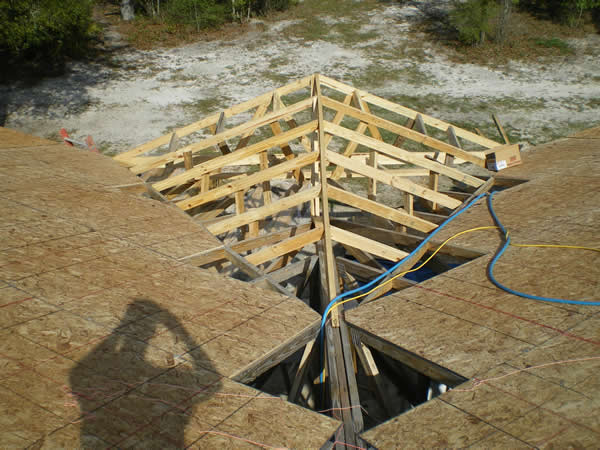
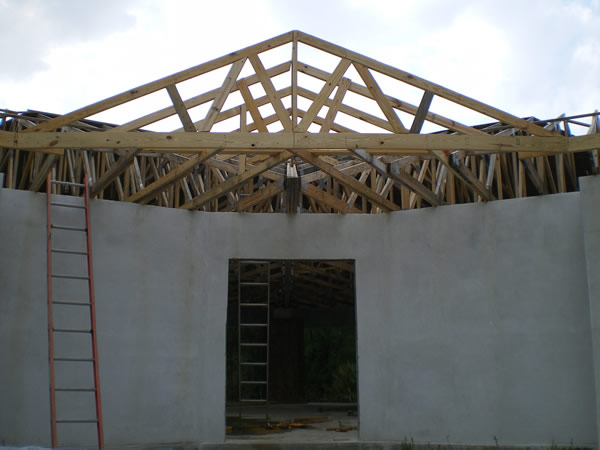
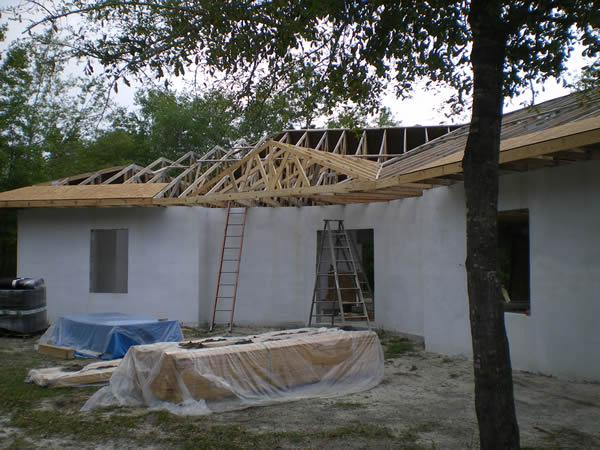
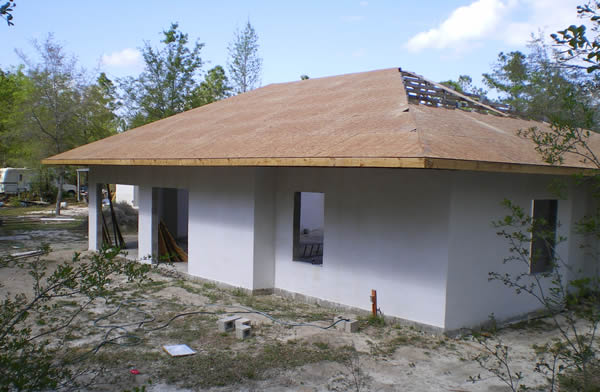
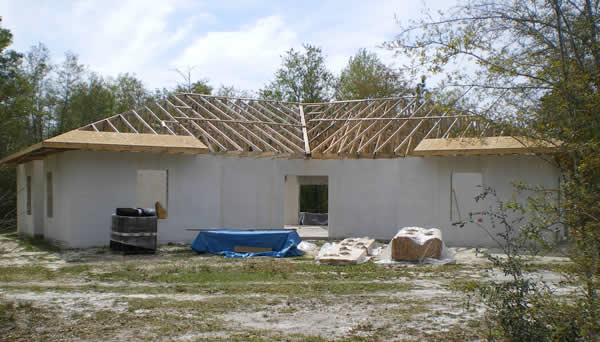
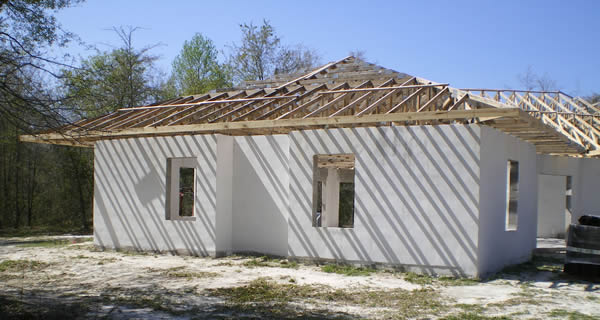
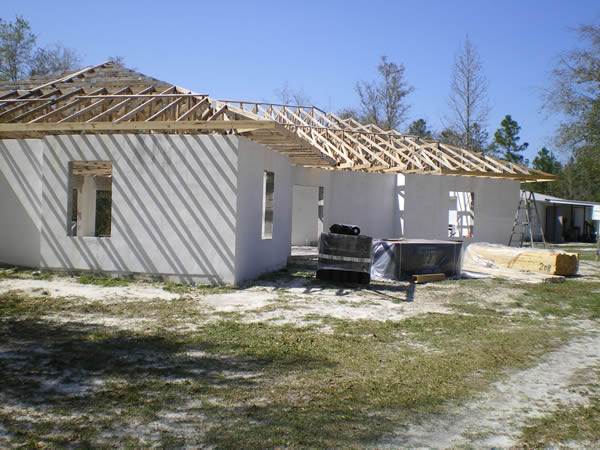
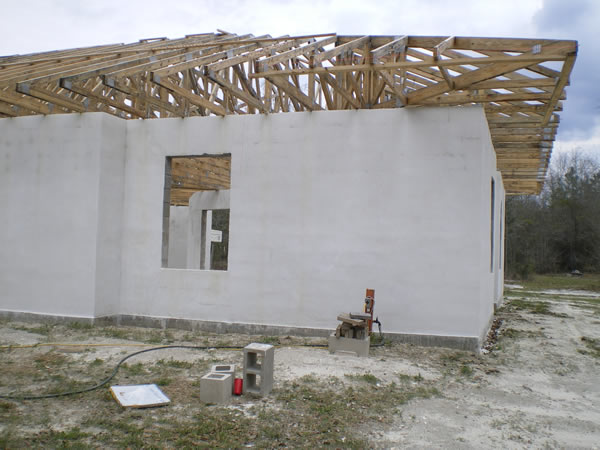
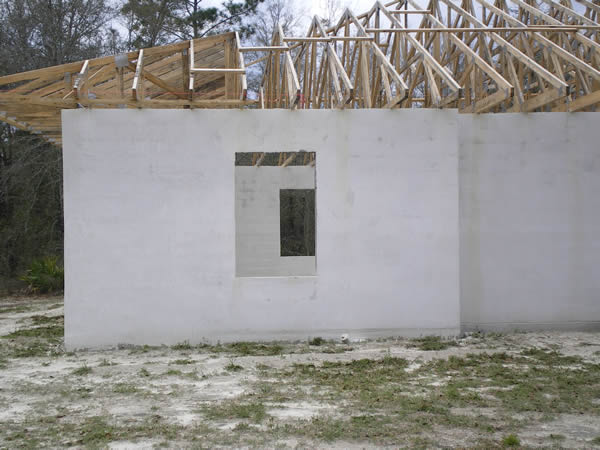
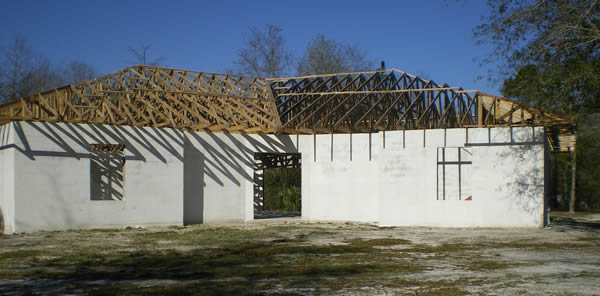
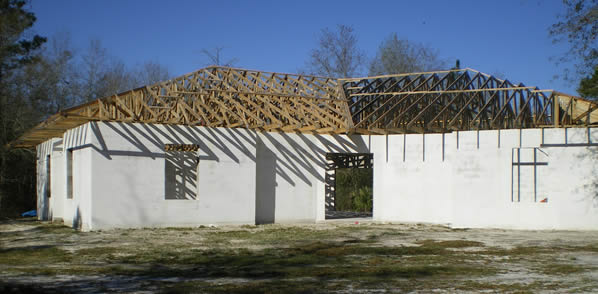
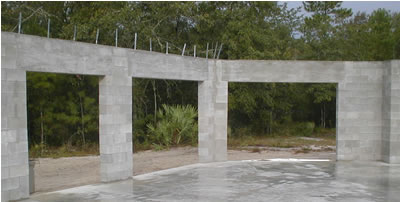
cutting blade. Roofing felt installed before metal roof. Roofing felt installed before metal roof. Front porch gable with roof sheeting. Front porch gable before sheeting. Front porch gable before sheeting. Front porch gable details. Front porch gable construction. Back and ends of house are sheeted. South half of back of house sheeting. North half of back of house roof sheeting. First row of roof sheeting. First row of roof sheeting. First row of roof sheeting. South end of house. All trusses in place. Close-up of truss bracing. Close-up of truss bracing. Walls are SBC'd and the trusses are in place. Walls are SBC'd and the trusses are in place. Placed first wall block on 10 Apr 06. Completed all
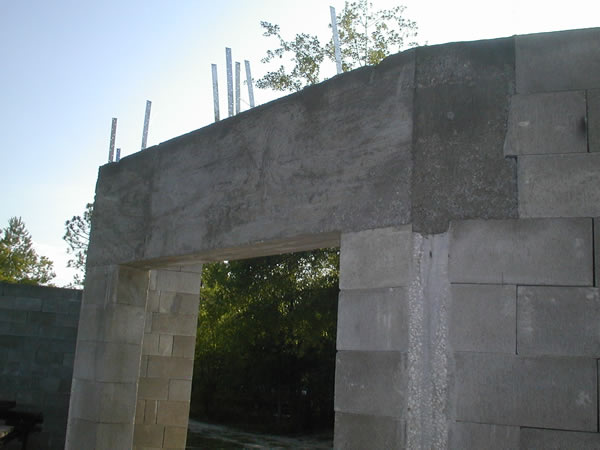
Front of house, walls completed. Metal straps will nail
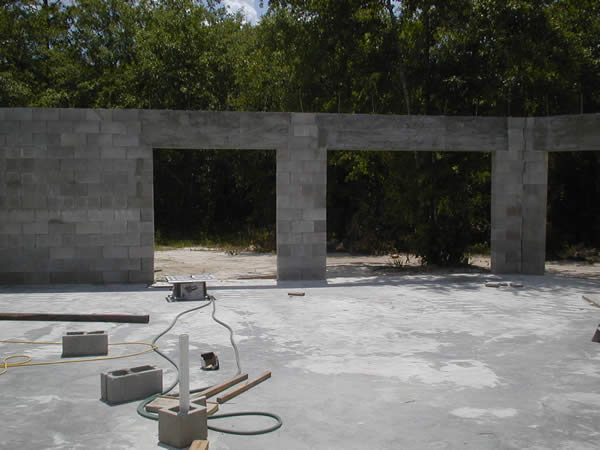
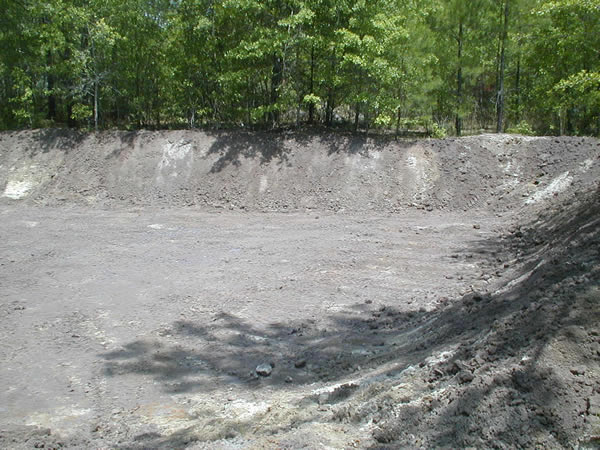
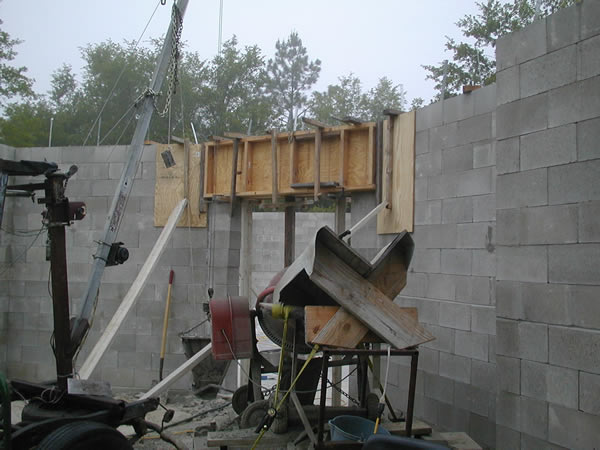
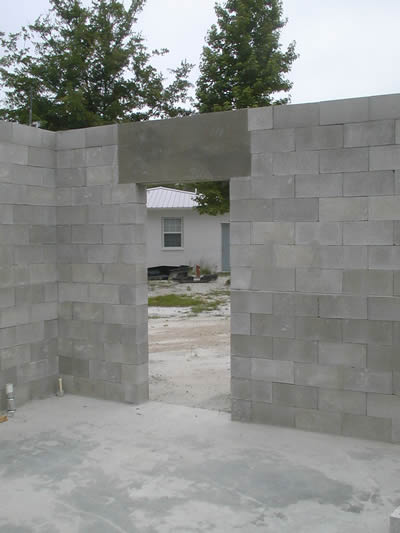
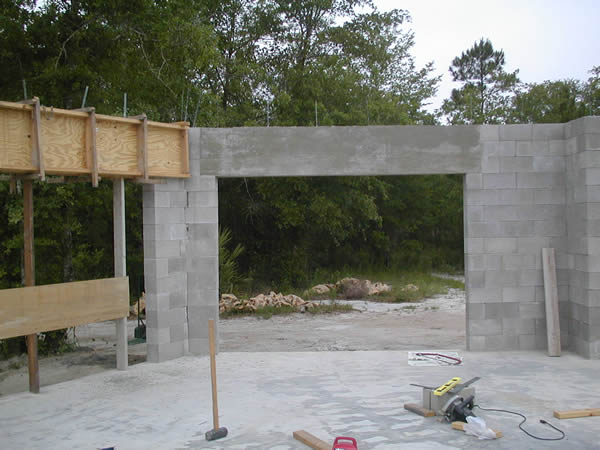
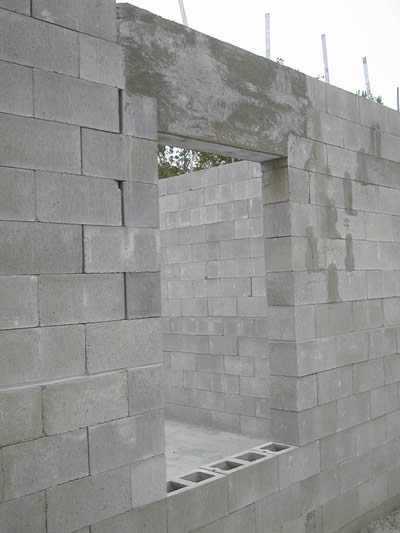
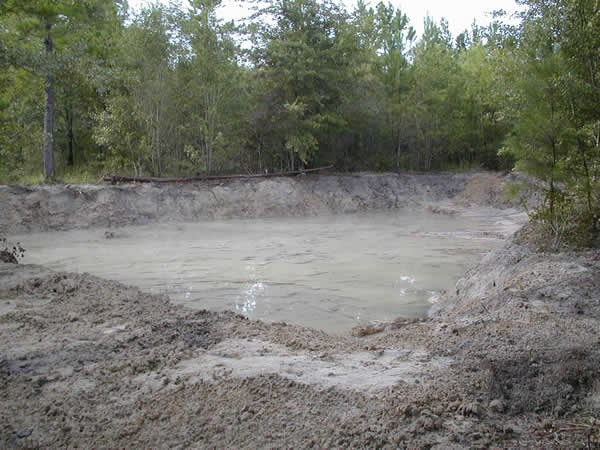
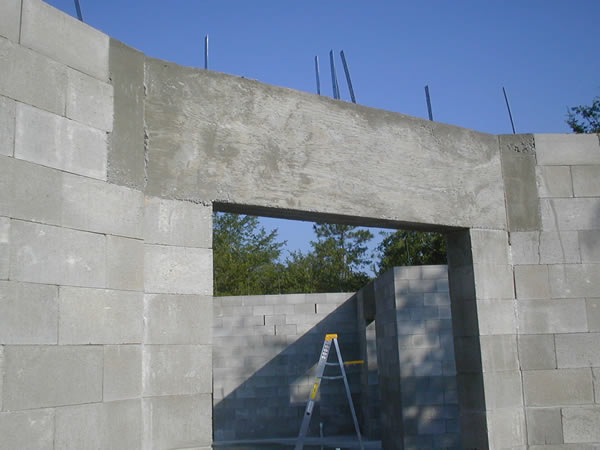
to trusses. Outside view of front door poured header. Left inside view of front door poured header. Right inside view of front door poured header. Master bedroom and front door Great Room and Kitchen french doorways Due to drought, reworked bottom of pond. Now has clay
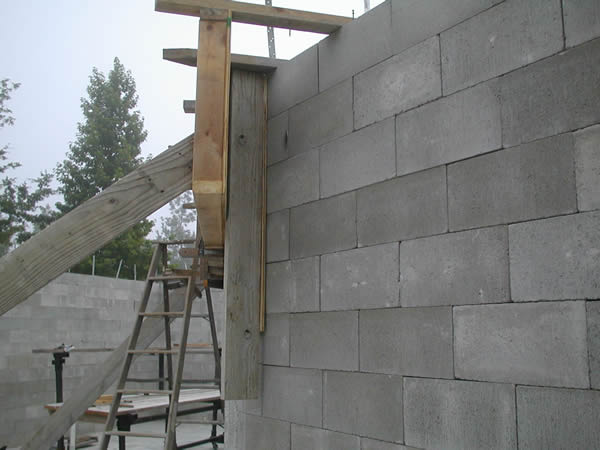
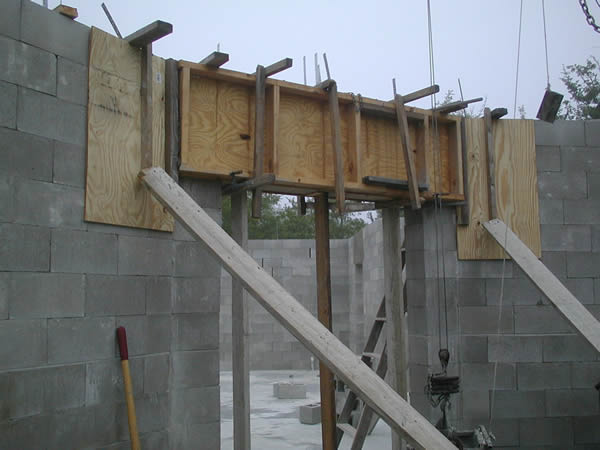
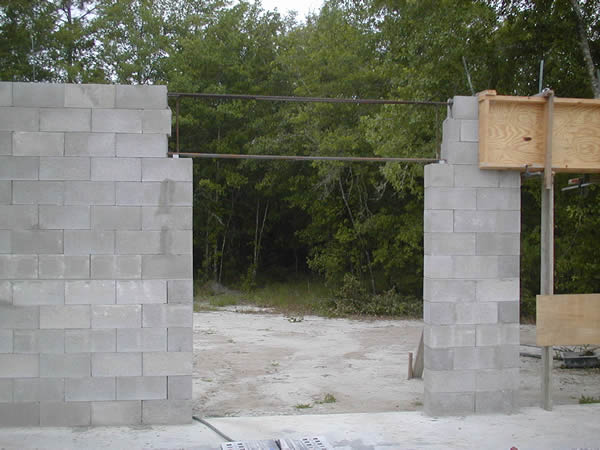
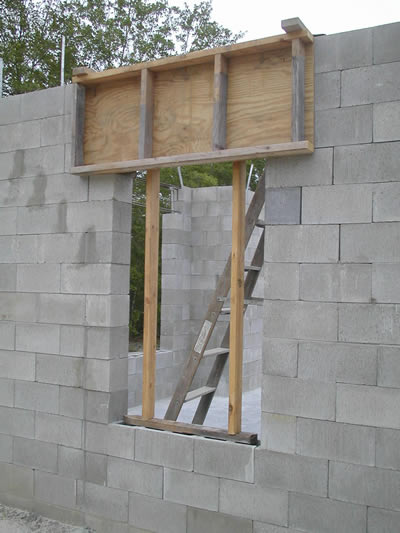
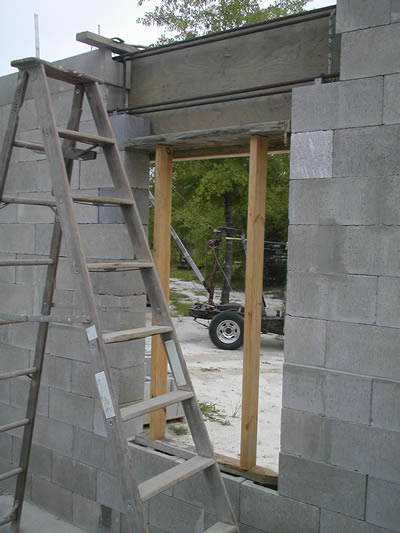
sides to hold water. Front doorway forms More front doorway forms Front doorway forms were a little complicated More front doorway forms More front doorway header forms Utility room to carport doorway. Great room doorway headers before and after pouring. Kitchen french doorway before forms. Finished window header with truss straps. Window header form. Side forms hang on wall with screws
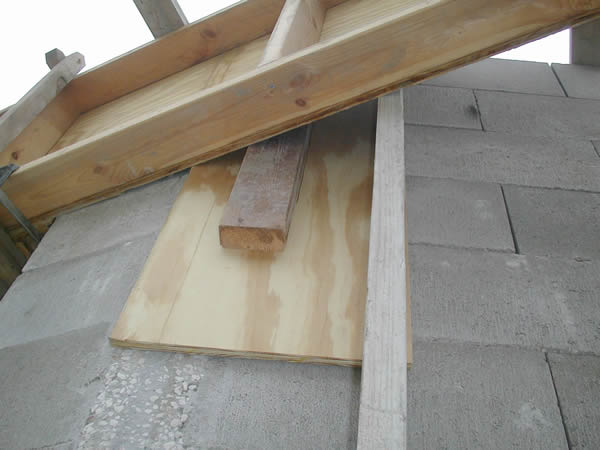
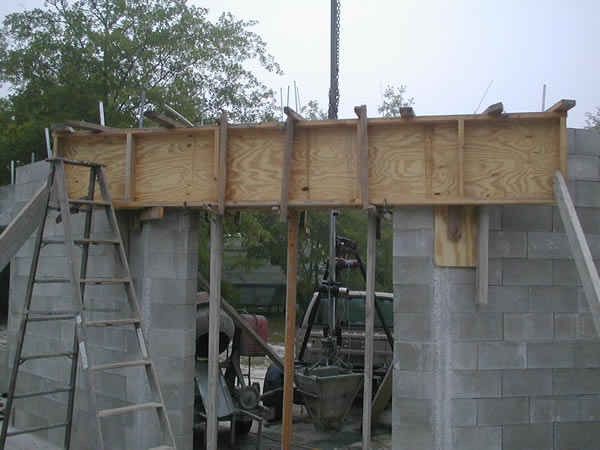
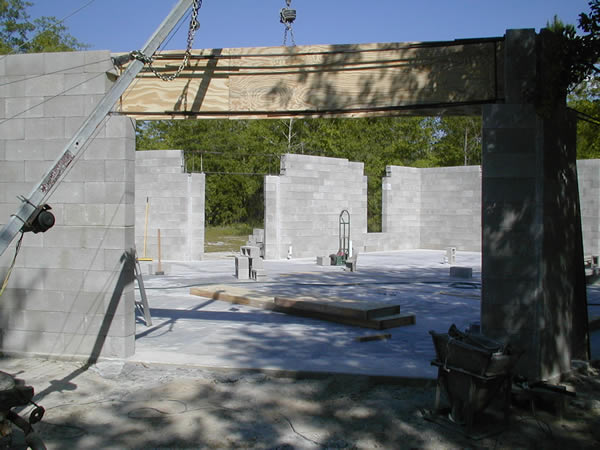
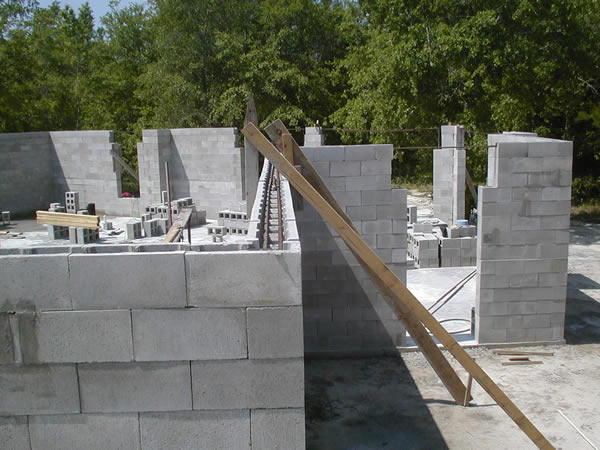
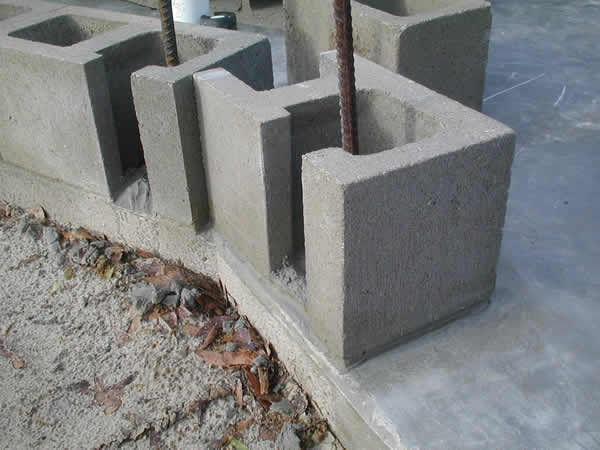
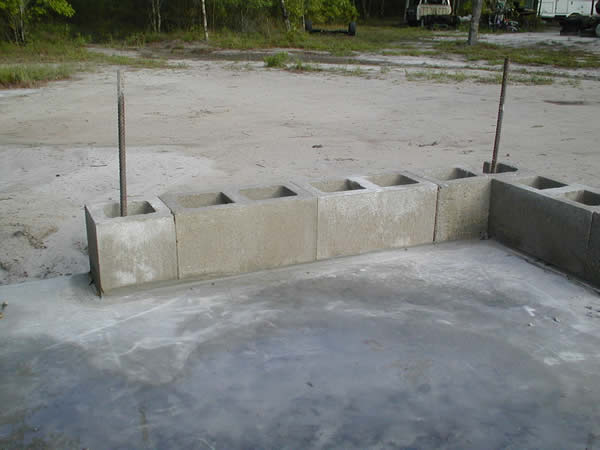
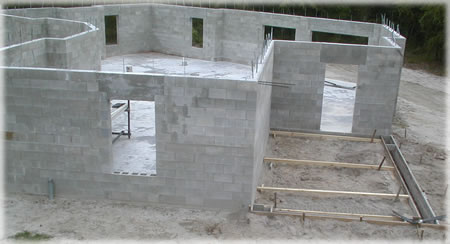
Window header form partially assembled. Bottom board 12 foot header form suspended by boom truck during installation. Manufacture of 12 foot header form. Front doorway awaiting header form. Typical bond-beam view. Note that two rebar go around
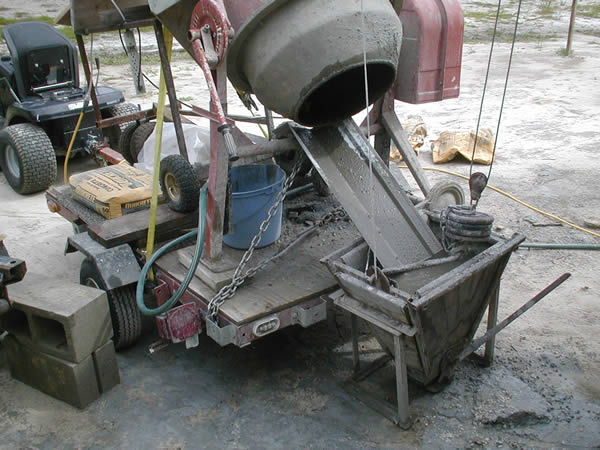
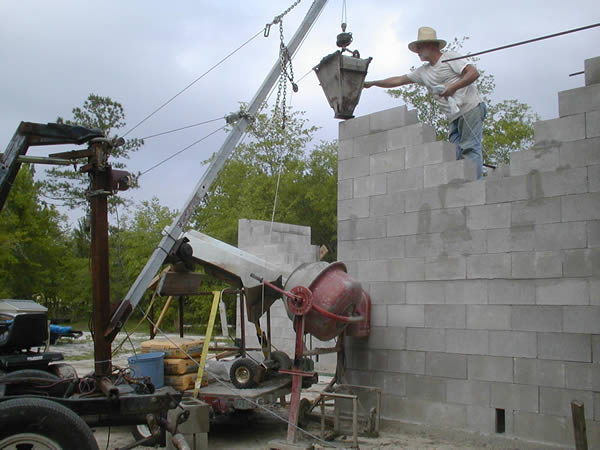
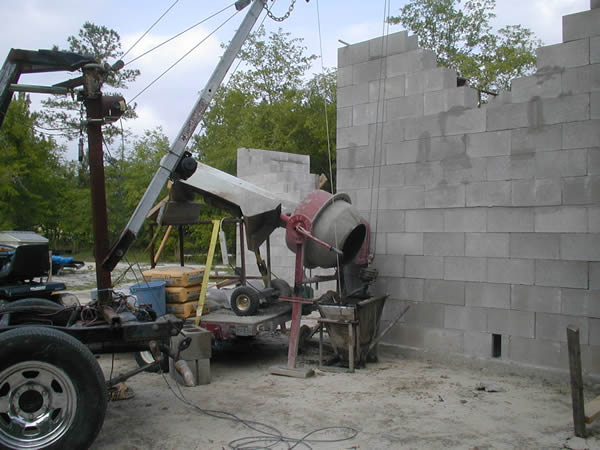
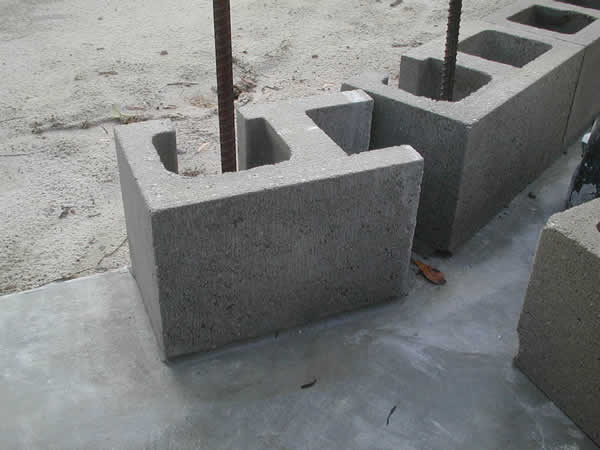
the entire building. Block and rebar in place. Awaiting concrete pour. Revised mixer platform. Now mixer, bag chute, and concrete
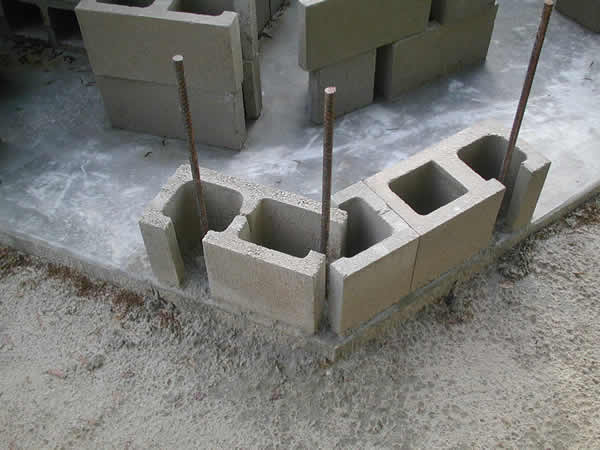
bags are all on trailer for ease of moving. Great room corner rebar. Front doorway rebar. Typical wall bracing until window cells are poured. Doesn't look like much, but 84 bags of 80# concrete.
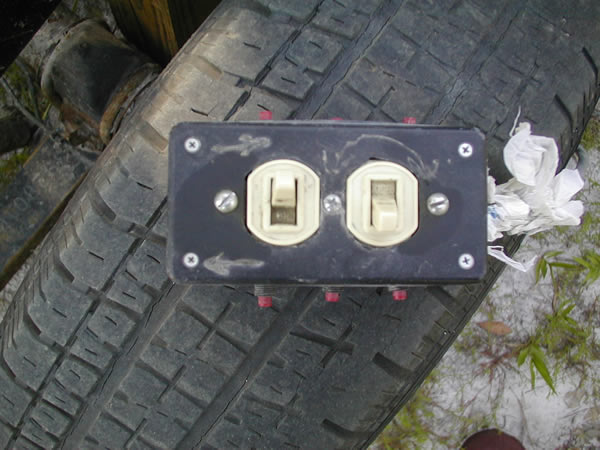
Total weight including trailer is 7,700 lbs. Switchbox used to control the hopper. The two house
switches are safety switches which both Pouring concrete into a corner wall cell. Plastic bag
in left hand protects the relay Original mixer setup. Had to manually move mixer for
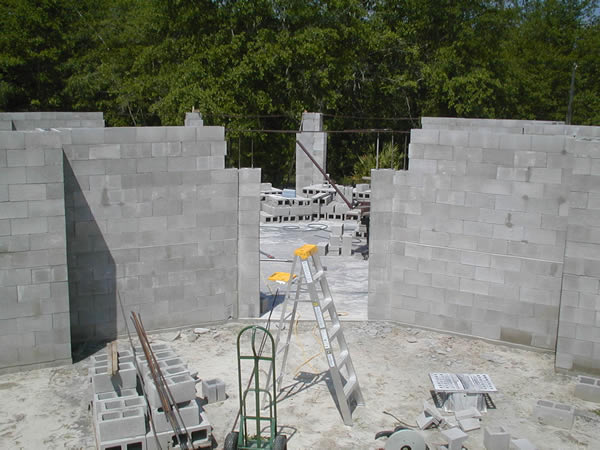
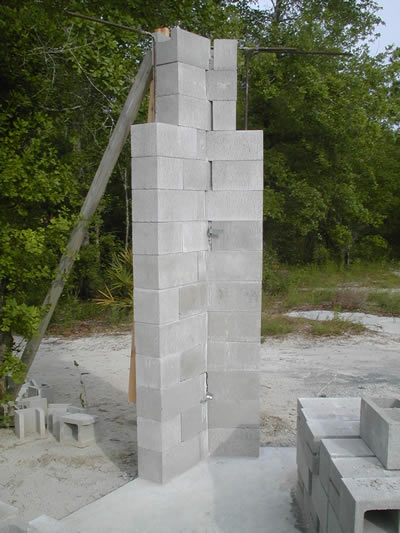
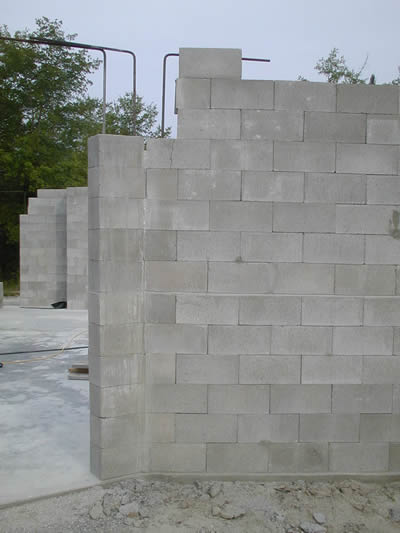
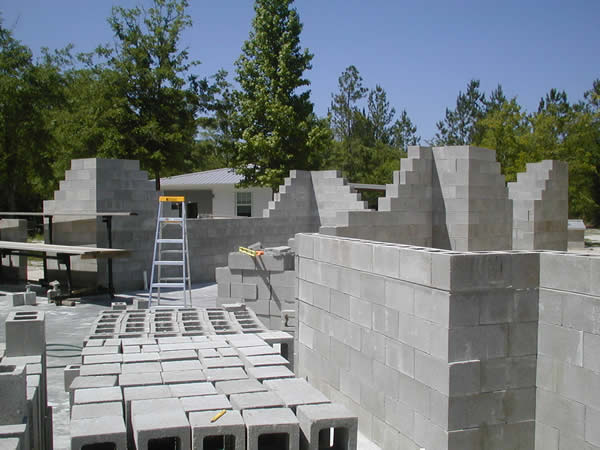
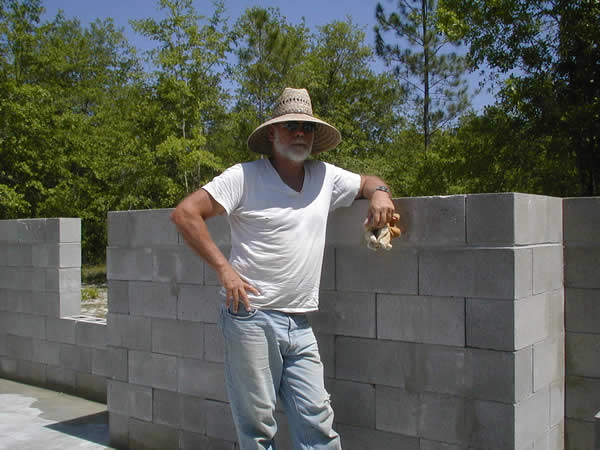
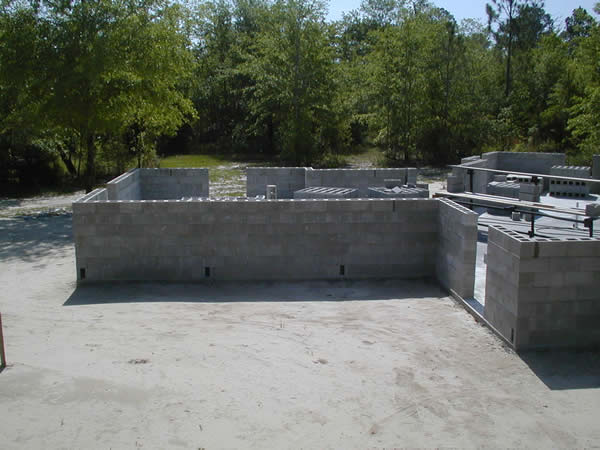
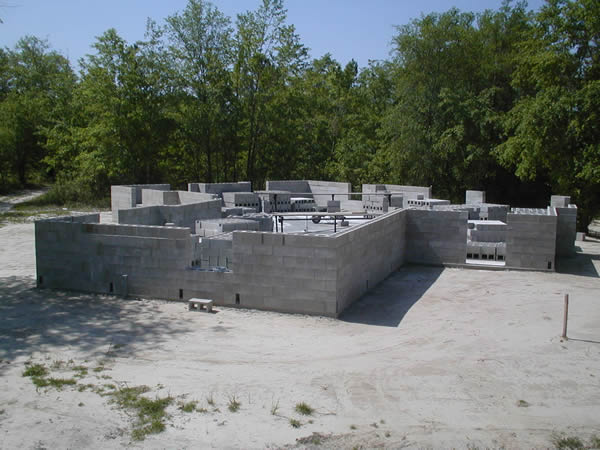
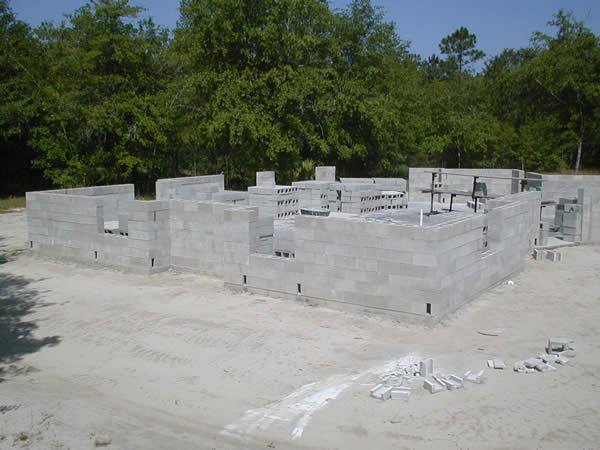
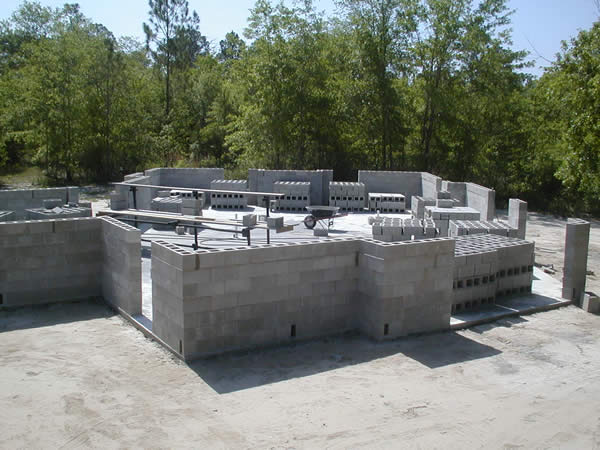
each cell. Notice bag hopper which Wall corners stacked. Keeping the sun off my head and neck. No more red-neck
for me! Each block (all 1,845) had to be scraped to remove excess
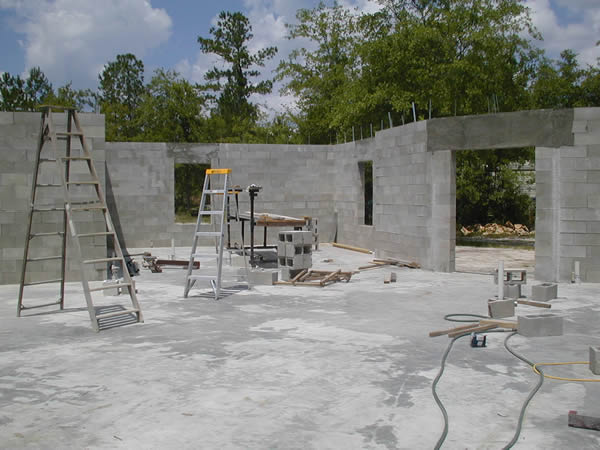
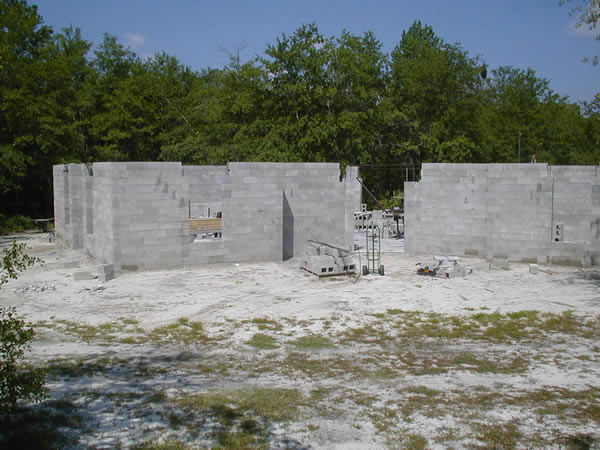
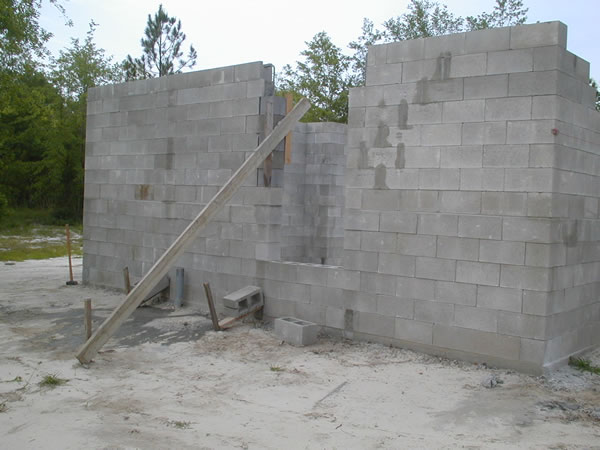
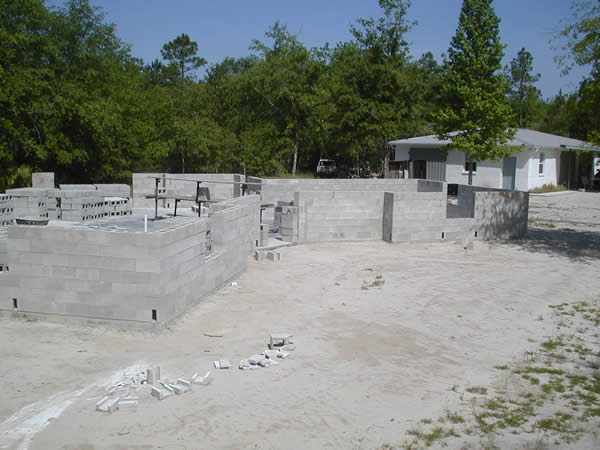
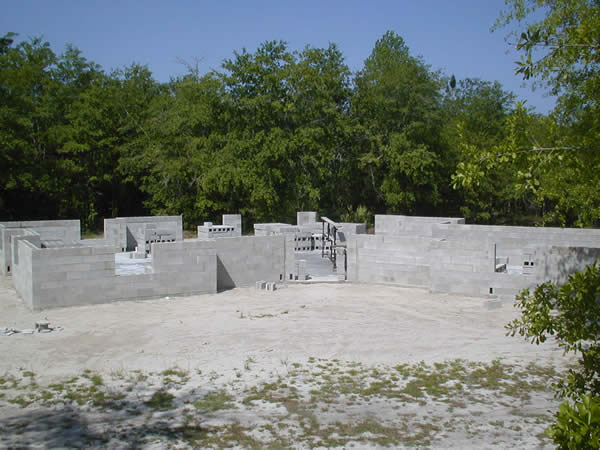
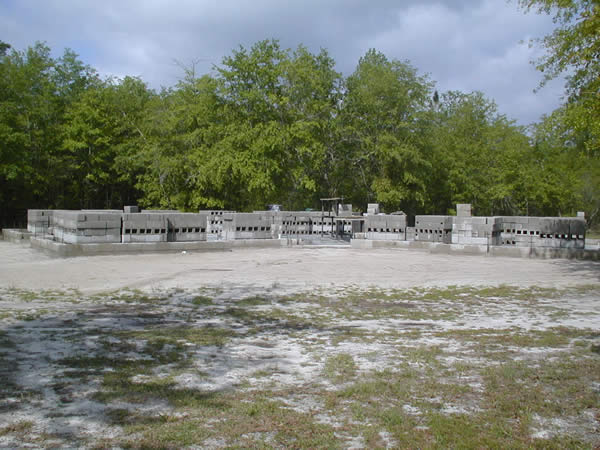
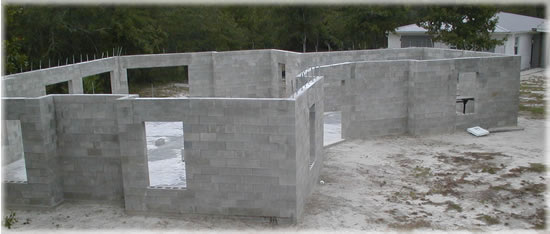
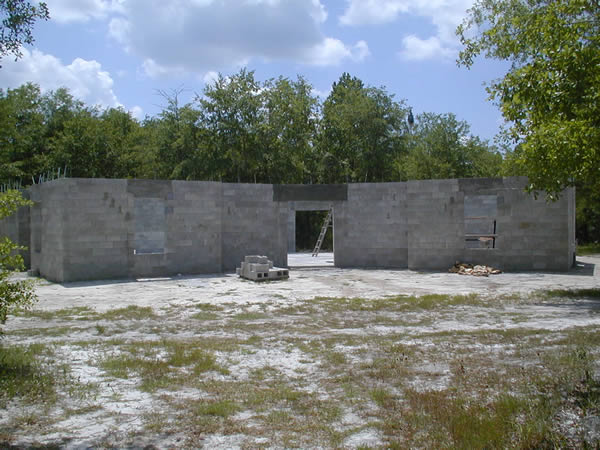
material. Top blocks before, Facing northwest, front of house (21Apr06), with 7th
row Facing west, front of house. Master bedroom, carport in foreground Facing south, master bedroom in foreground, carport
is cutout on right, The south end of the house contains two bedrooms. Front
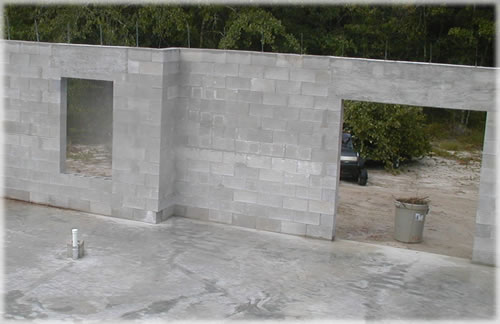
entrance on right. Facing south, looking over the utility room. Note the
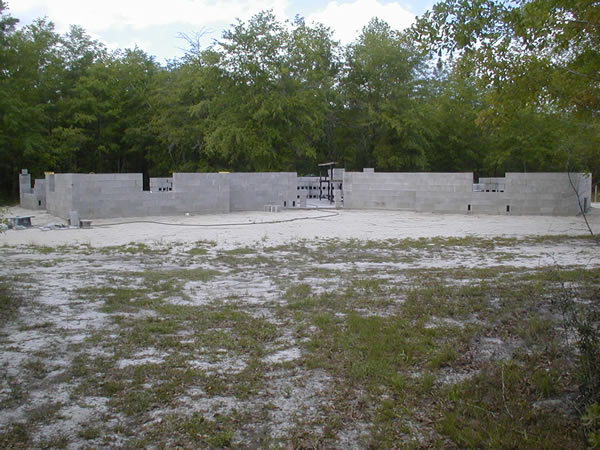
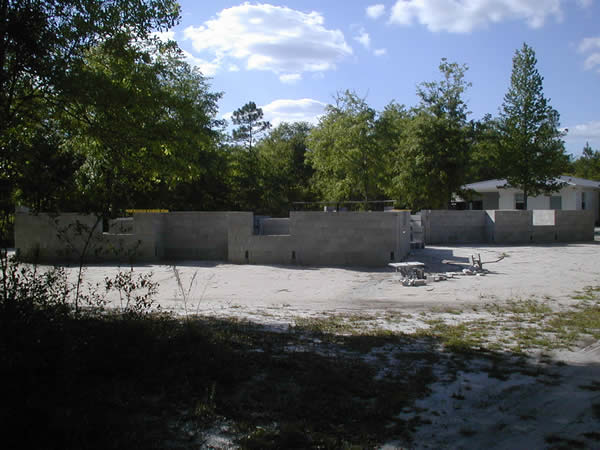
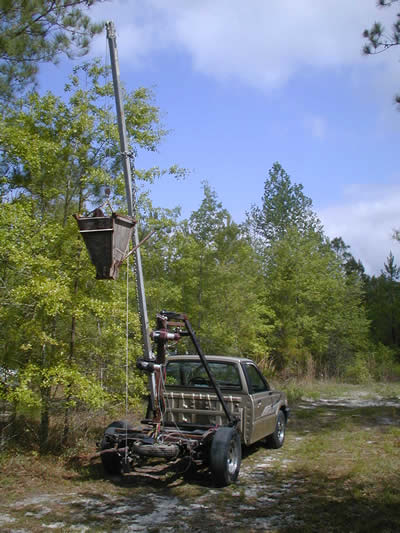
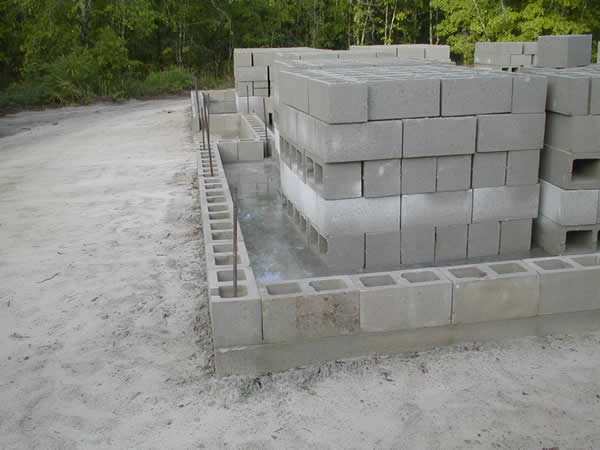
9 foot East wall (front) 6 blocks high (13 April 06) North wall 6 blocks high South wall 6 blocks high First Row Blocks Mortered to Slab (10 Apr 06) Mazda Pickup modified as hopper lift truck First row of blocks mortered, nice straight South wall. Outside View Left Side Front Door Angle Inside View Front Door Angle Great Room Corner, 3 french doors each side. Striking the morter, notice rounded mortor where block
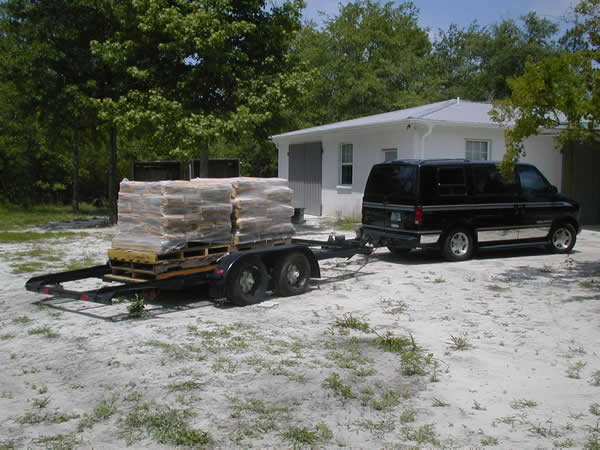
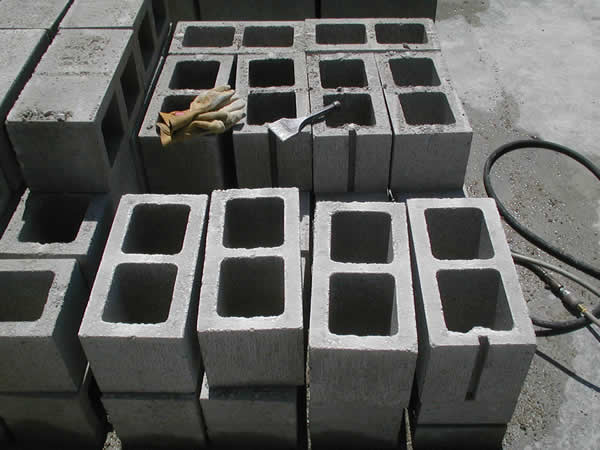
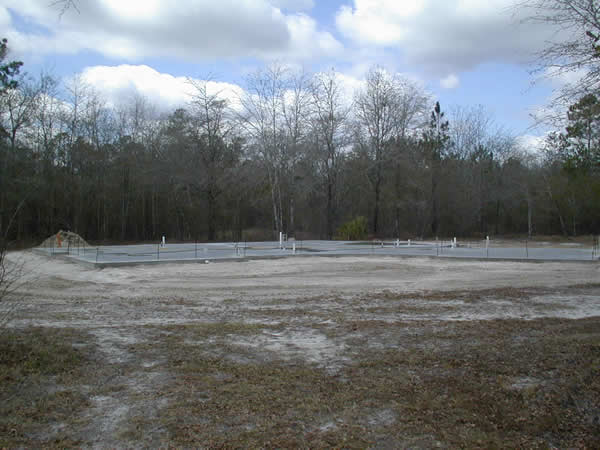
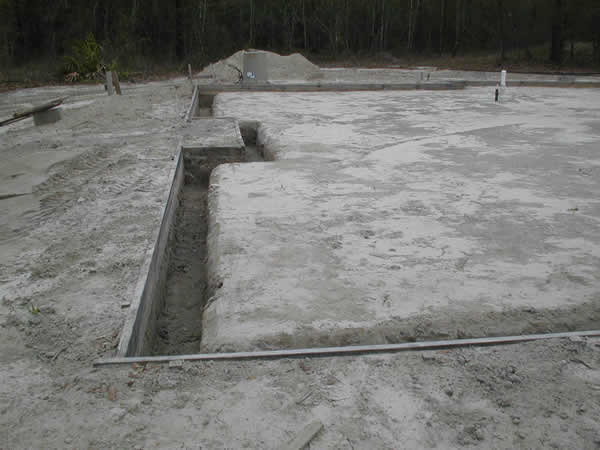
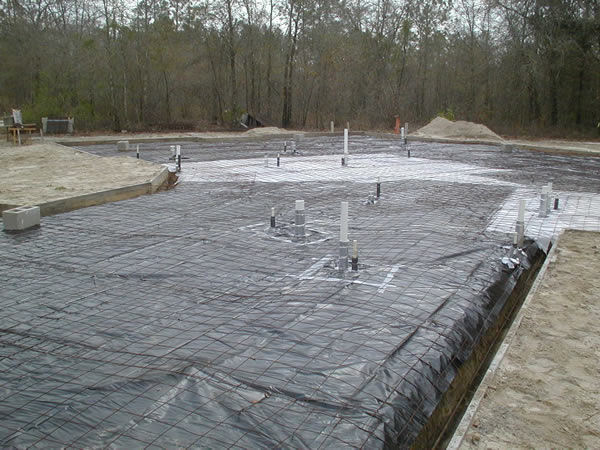
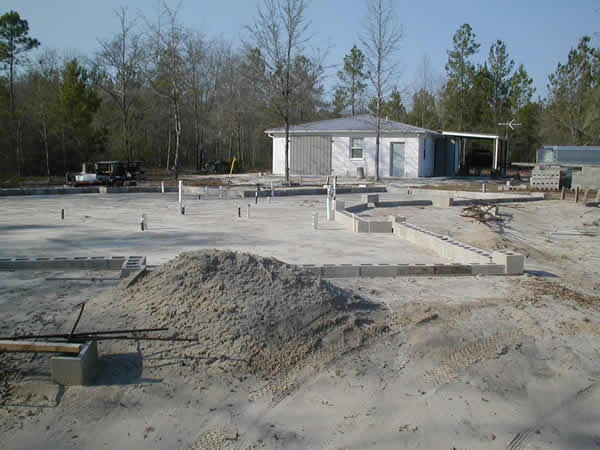
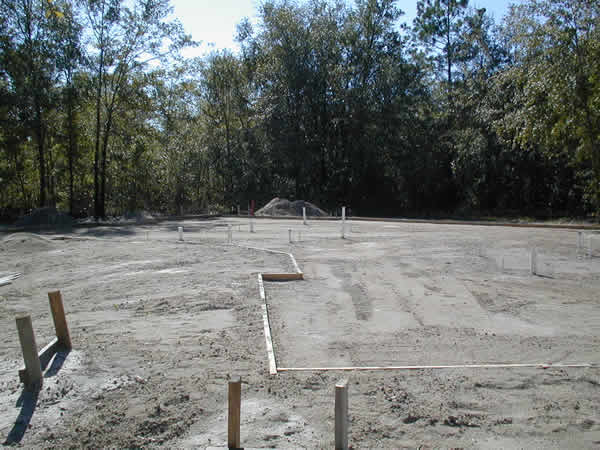
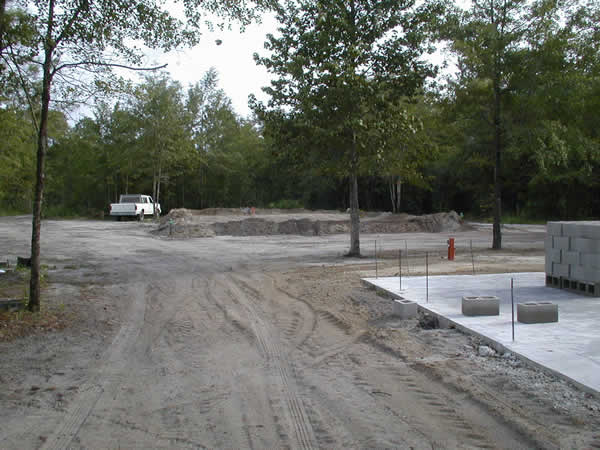
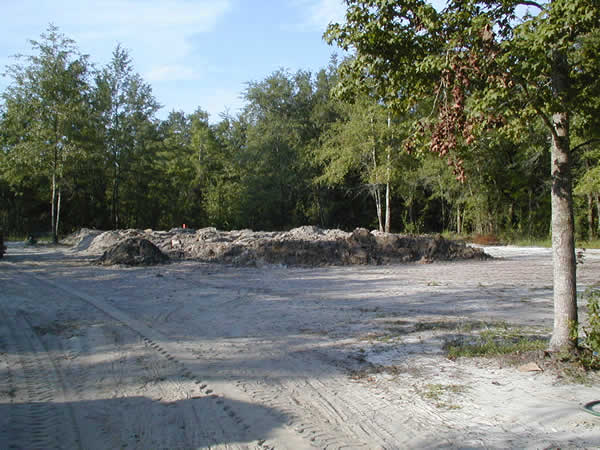
meets slab. Well Pump House Blocks Delivered (28 March 06) Slab Poured Footer Dug by Hand Bagged and Tagged (also termite treated) Test Blocks to Ensure Forms are Correct Forms and Plumbing House Fill Dirt Bermed to Prevent Washout House Fill Dirt Moved from Sand Pit Future House Location Sand Pit (future pond) Where House Dirt Came From Working the sand pit
Getting Sand from Pit
|


 .
.