|
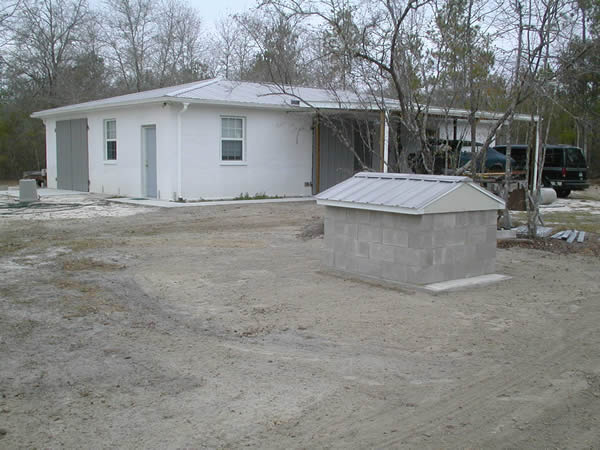
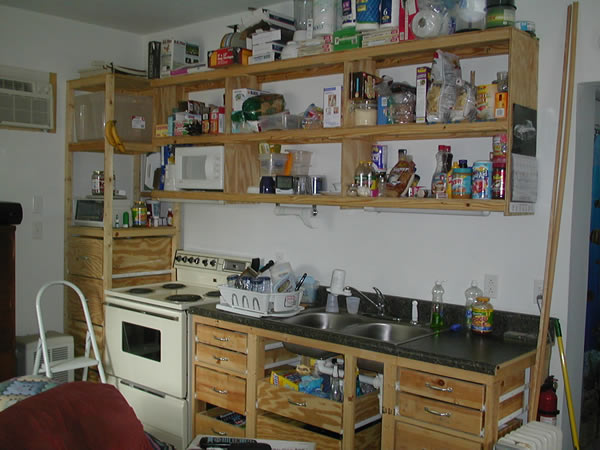
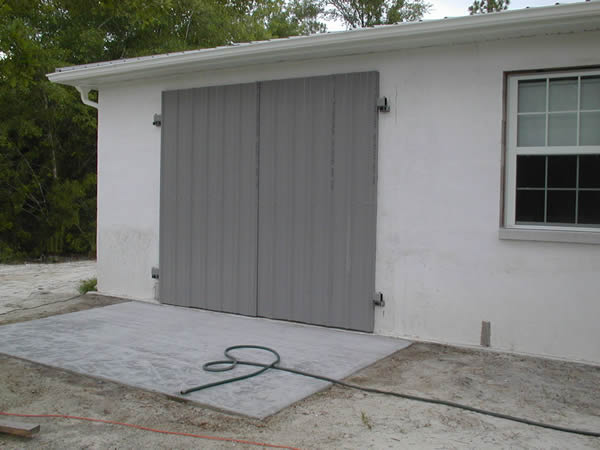
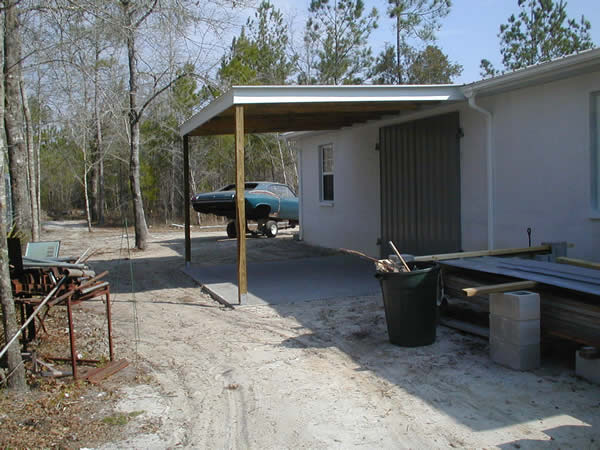
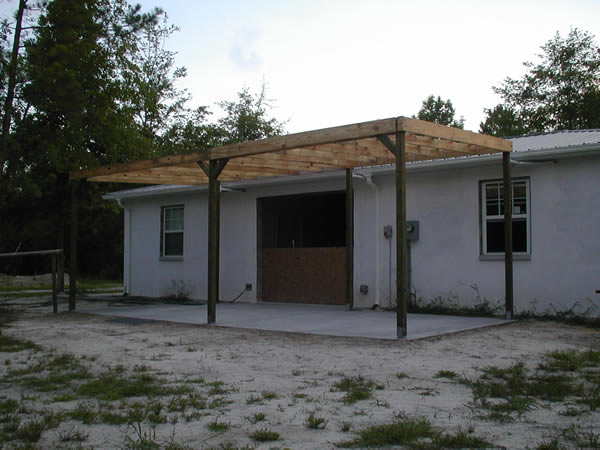
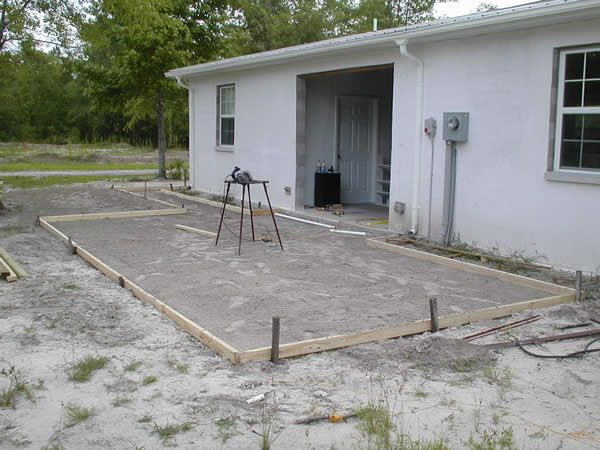
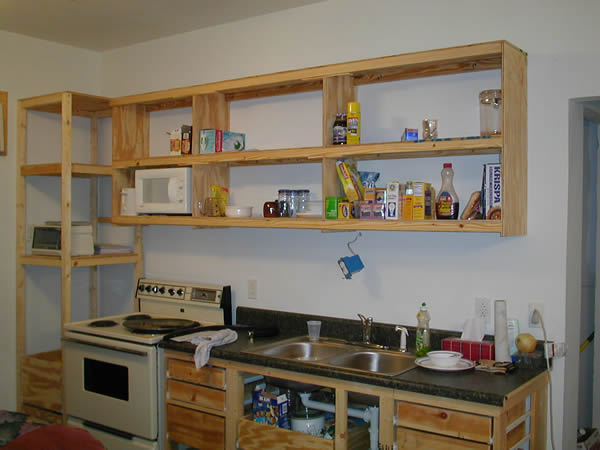
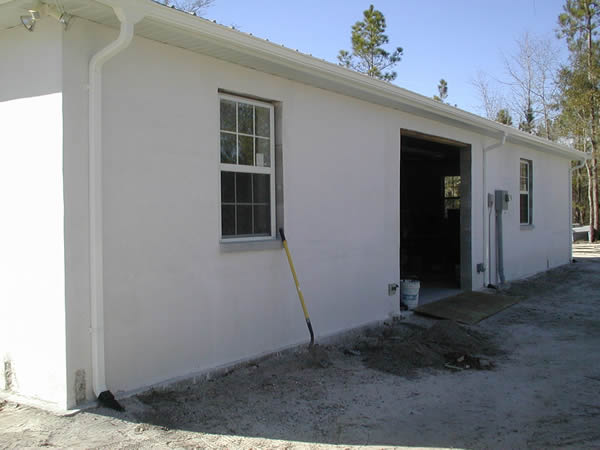
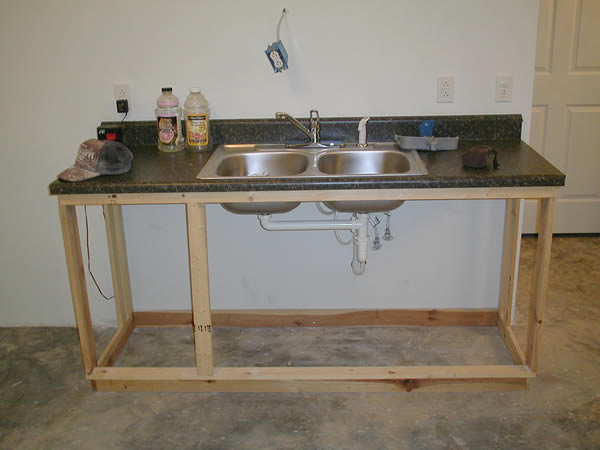
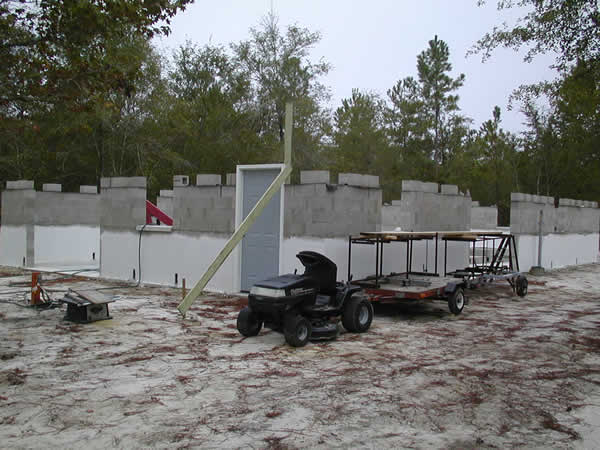
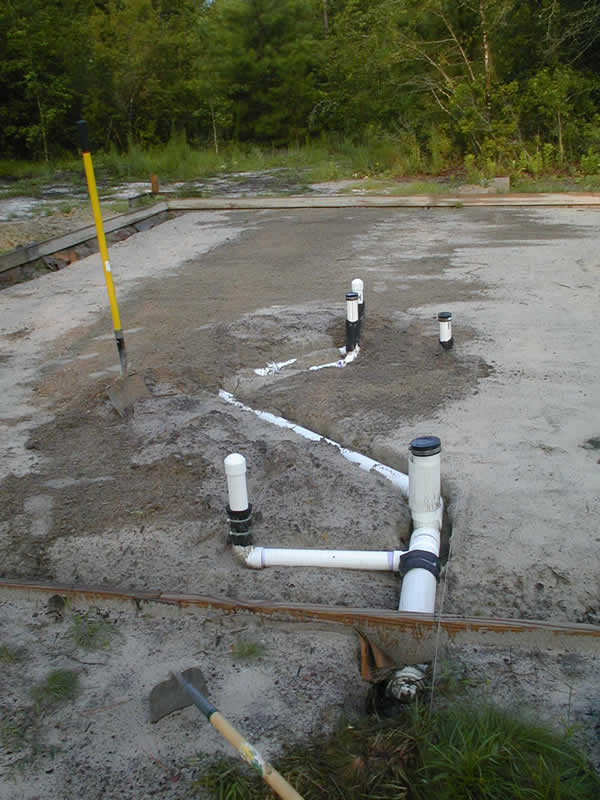
Building the Garage (updated 10 Apr 06) East Carport Finished Office, North Wall Office, West Wall Office, South Wall Office, East Wall South Garage Door and Slab West Garage Door and Carport East Garage Door Carport Structure Micah, Kim, and Pheona West garage door carport slab after forms placed. West garage door before slab forms placed. East Garage door carport slab forms placed. Kitchenette cabinets roughed in, no facings or doors yet. Building an access port for the main water supply shut-off valve;
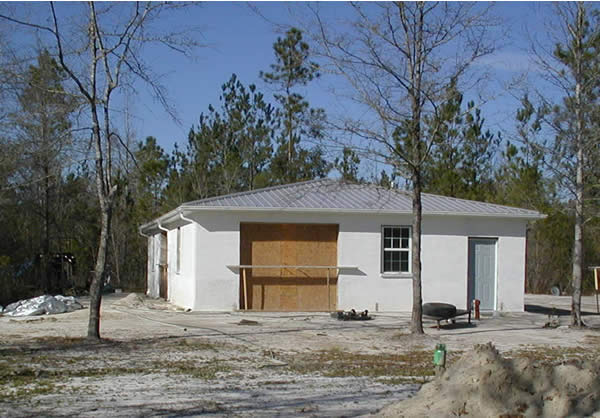
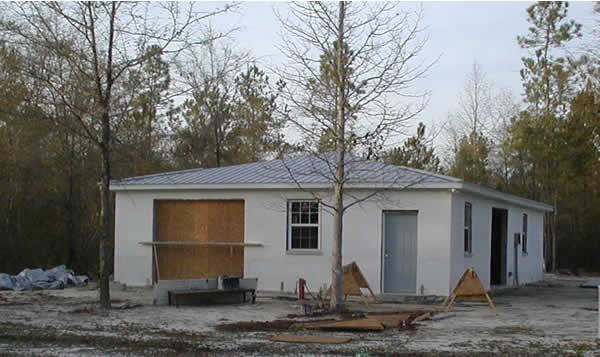
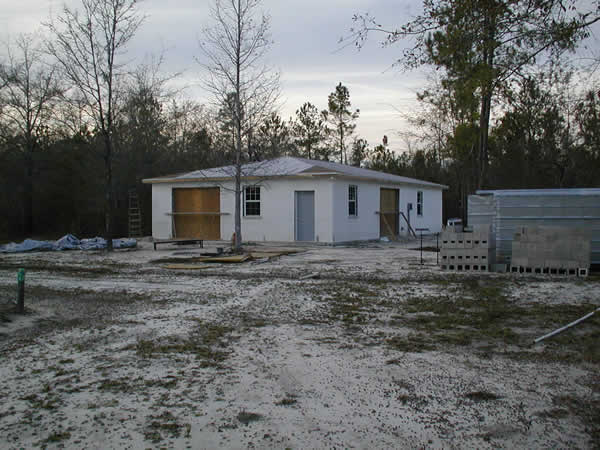
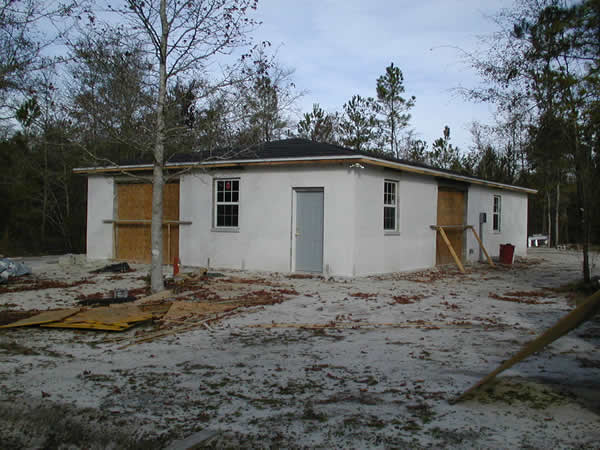
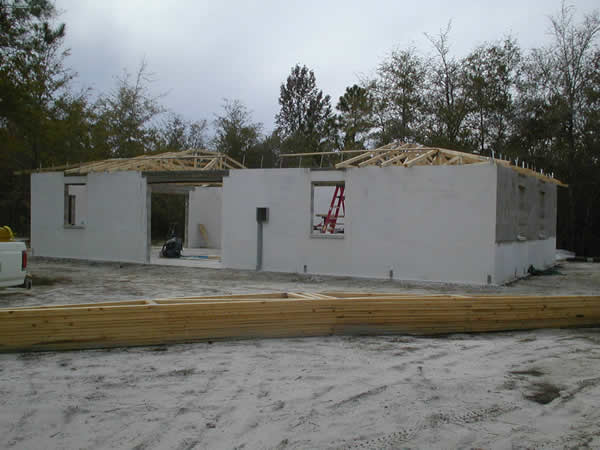
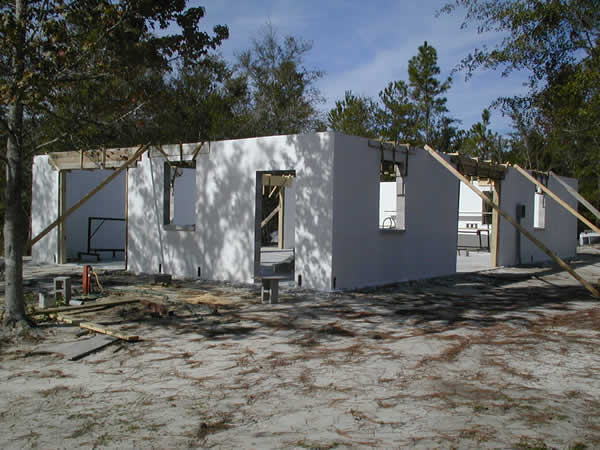
near the shovel. (east side) South and west sides of garage. Still needs outside wood trim around
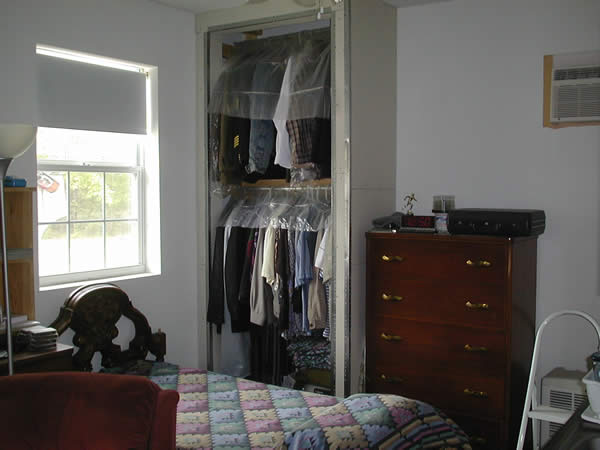
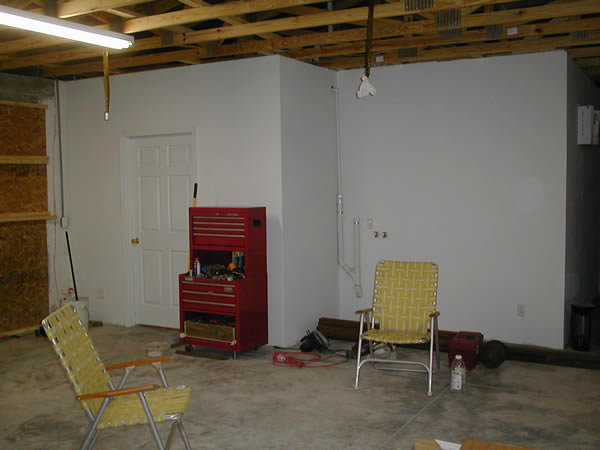
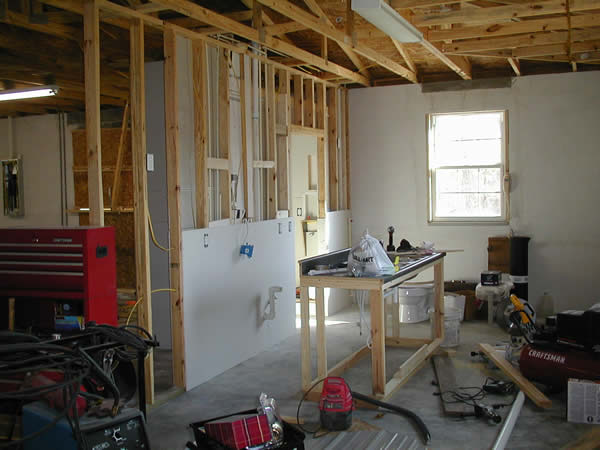
door and windows. Garage side of office wall. Washer and dryer connections behind the
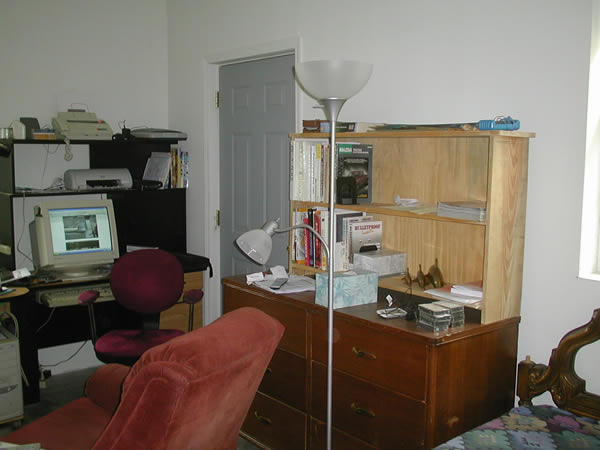
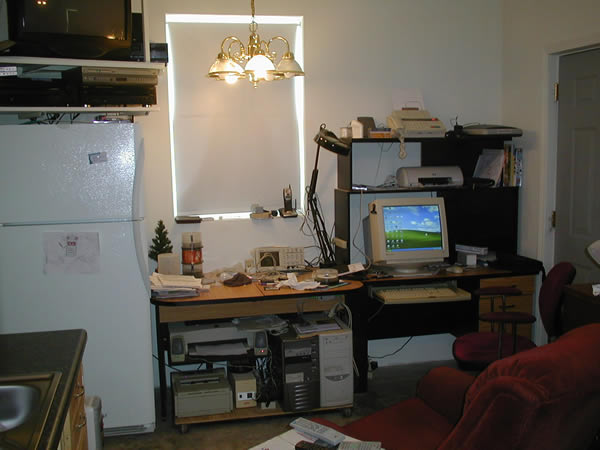
lawn chair. Computer corner, eating table under light at window. Refrigerator
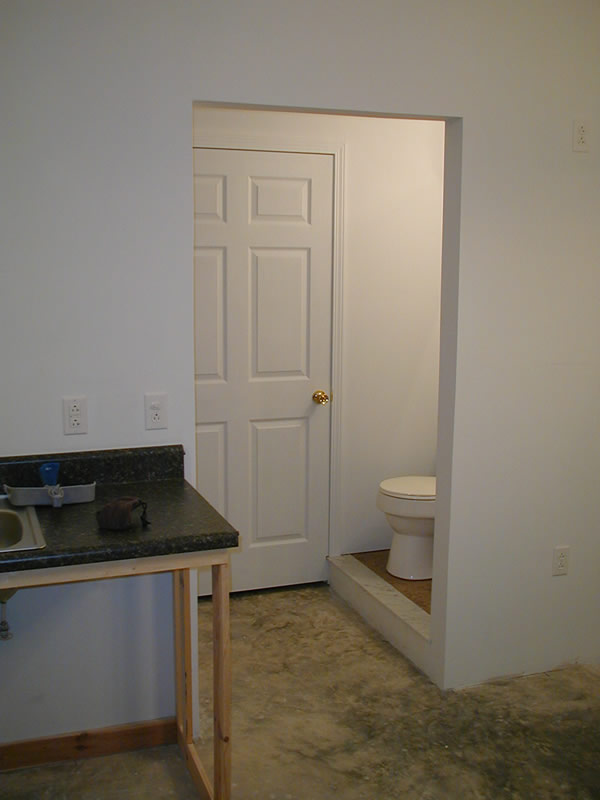
goes to left of window. Bathroom, floor is tiled with marble step-up. Step-up required to
re-position toilet on slab drain. Decided to add a wash basin after the slab was poured. Had to squeeze
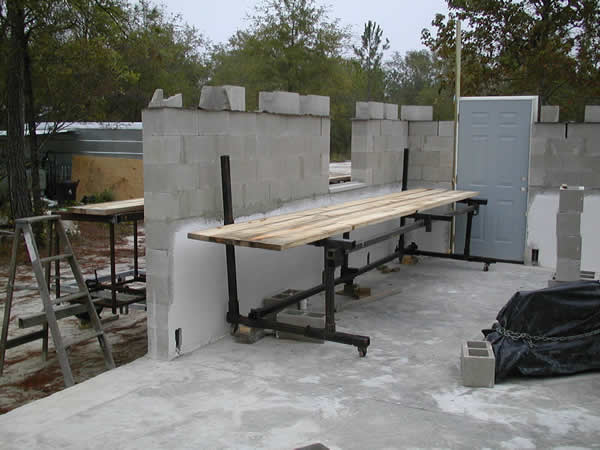
toilet over to make room. Kitchen countertop frame, needs drawers, doors and cabinets above.
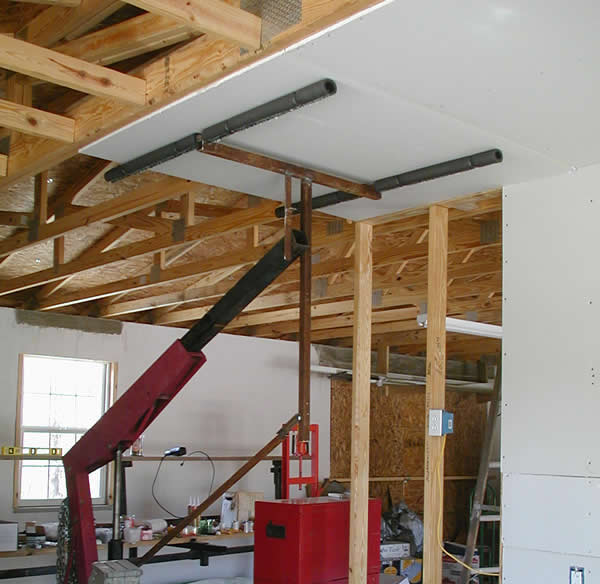
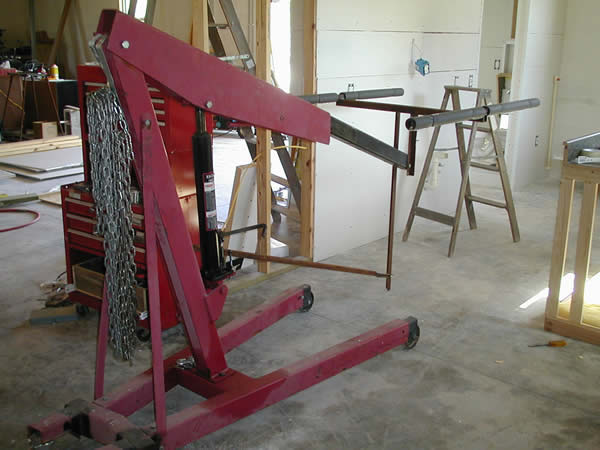
Electric range will be Platform in use placing a ceiling sheet rock panel into place. Now
just get on a ladder and nail. Built a platform which connects to my engine lift stand. Platform
stays level due to the Garage side of bathroom. Toilet and sink left of door, shower right
of door. Office area where sink and cabinets will go. Doorway into the bathroom.
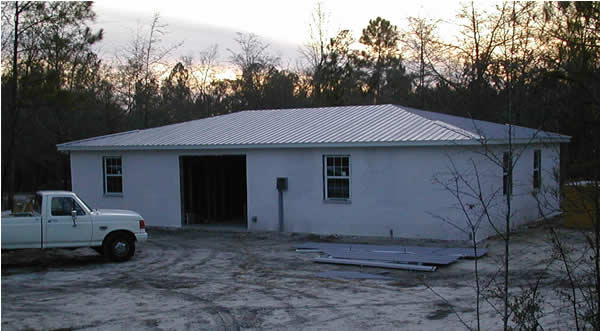
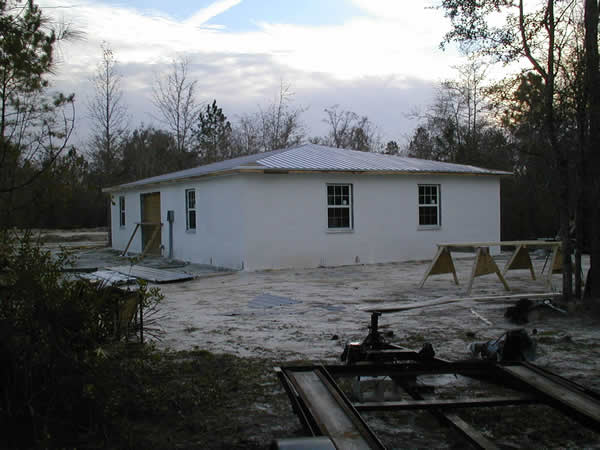
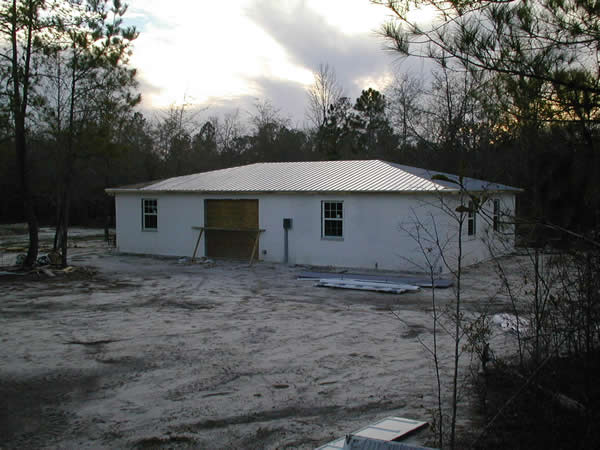
05 Feb 05 South side with facia trim installed. Hip and ridge caps not fully
installed. 22 Jan 05 East side with facia trim installed. Hip and ridge caps not fully
installed. South end of garage with partial metal roof installed. Soffit trim detail. Still needs facia trim cap. North side of garage partial metal roof installed. East side of garage with partial metal roof installed. No facia trim
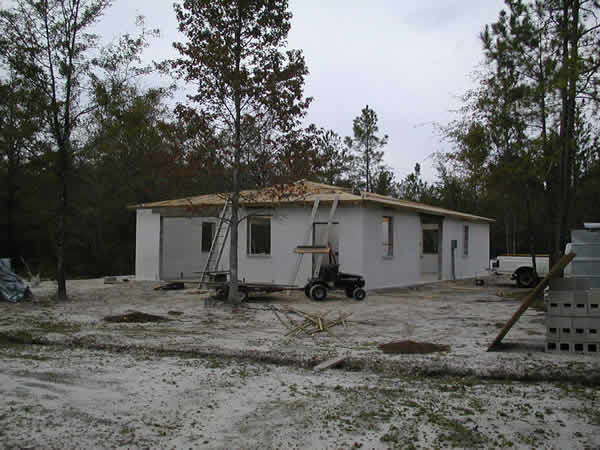
yet. Roof sheeting, roof felt and drip cap installed. Temporary garage
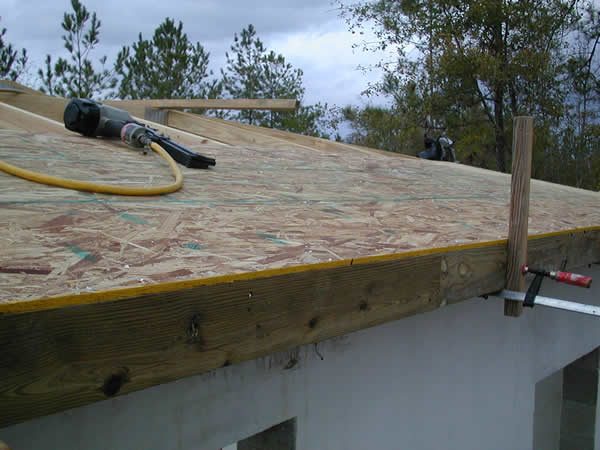
doors installed. The 2 boards over the front door is the crib. Place 5 sheets on the
crib Hardest first row of sheeting completed. Now there's a place to walk. Clamping board to eves at 6 foot spacing, prevented sheeting from
sliding off until aligned and nailed. Installing bottom row of sheeting, getting alignment without the
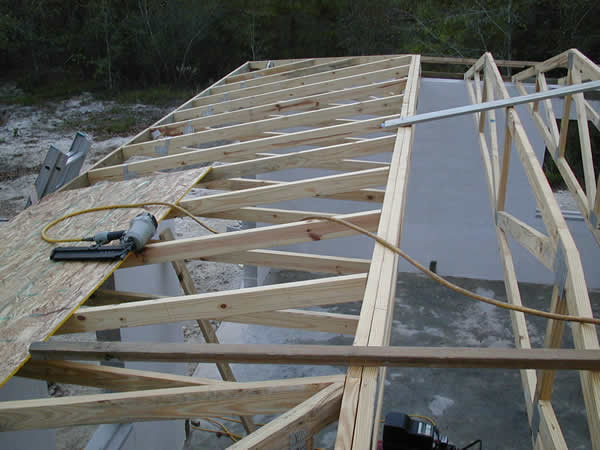
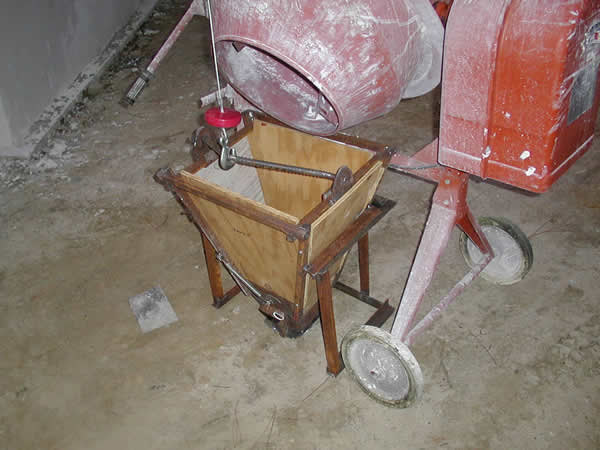
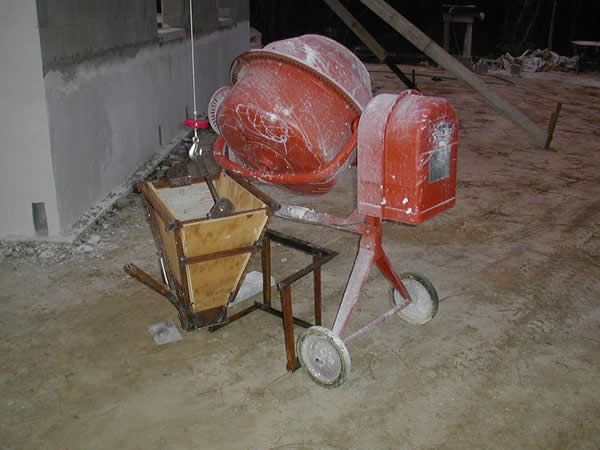
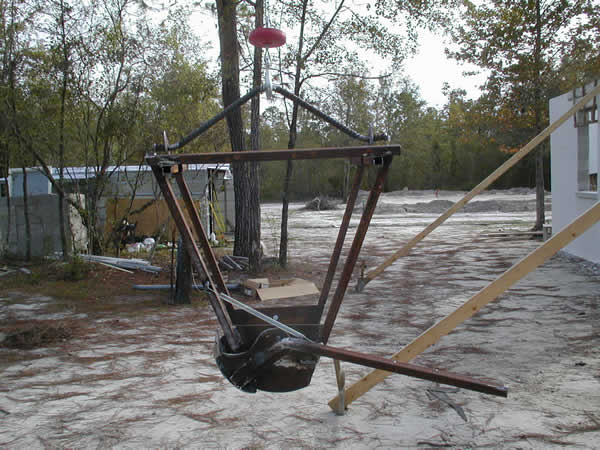
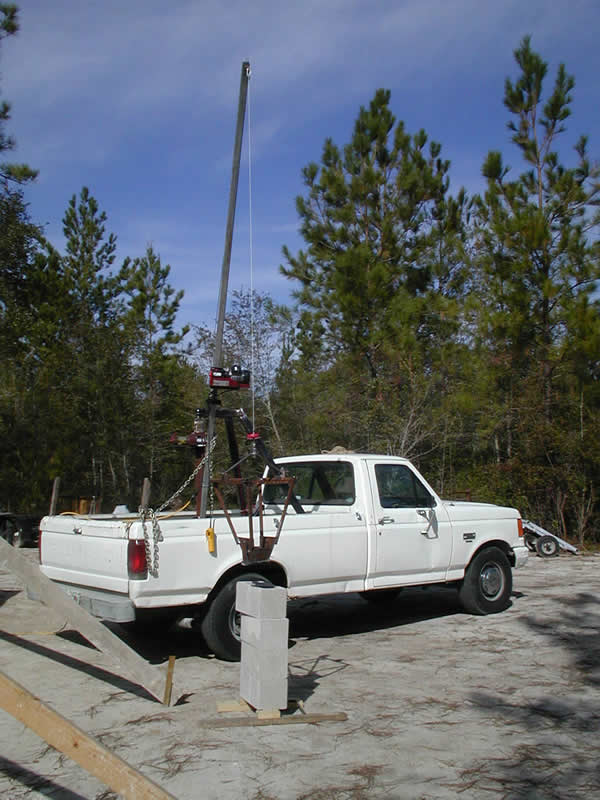
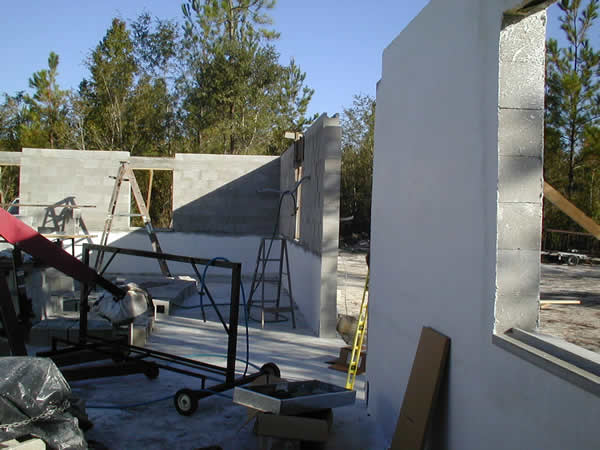
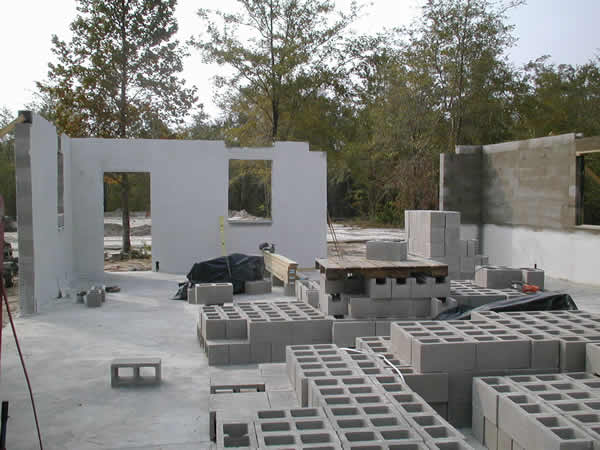
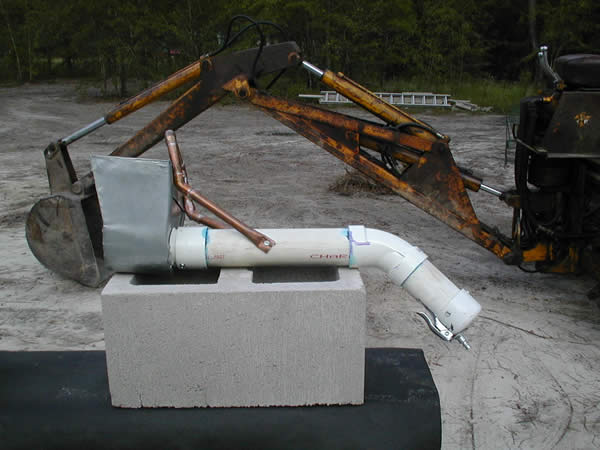
sheet sliding off proved difficult. Trusses viewed from inside the garage. Both hip end trusses installed, middle trusses still on ground. Placing the first trusses Concrete hopper in position on stand for dumping concrete from mixer Concrete hopper on cable moving into hopper stand Concrete hopper frame and gate assembly Winch to lift concrete to top of wall to pour vertical rebar and
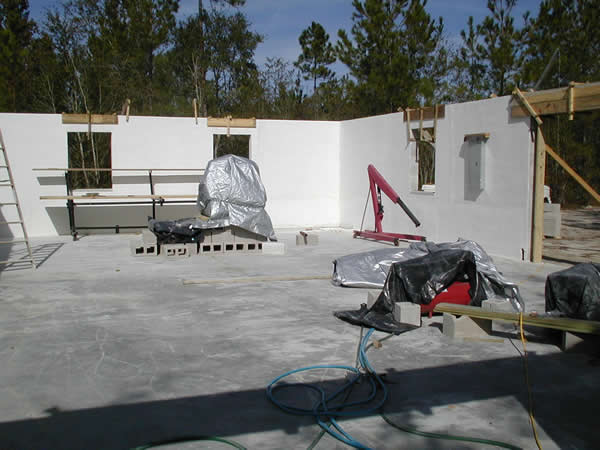
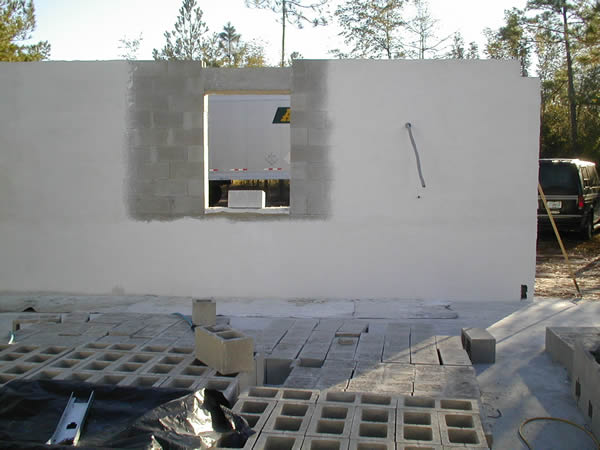
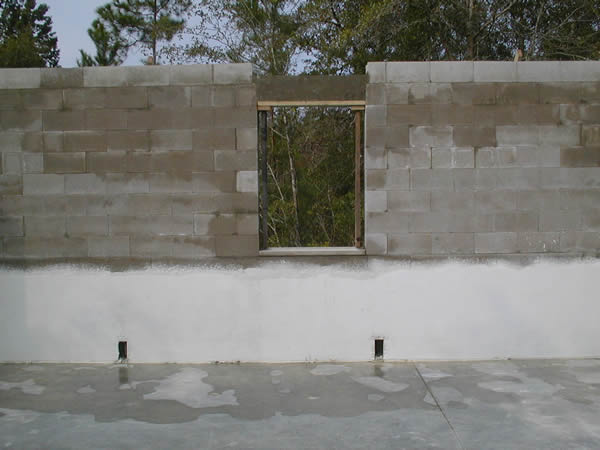
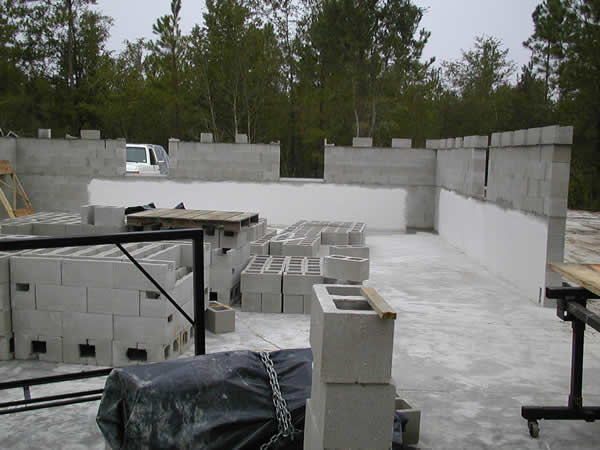
bond beam All formed and ready to pour concrete into wall cells and bond beam Garage door header forms for solid concrete tied into bond beam All formed and ready to pour concrete into wall cells and bond beam Window header before being sprayed with surface bonding Pouring more window headers More window headers Concrete and rebar form the bond beam above window header. Top row
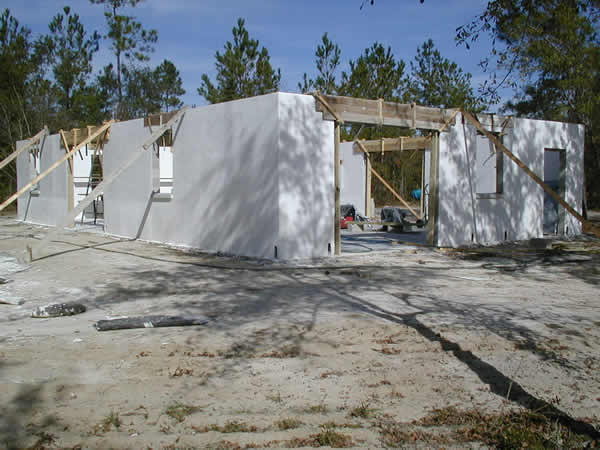
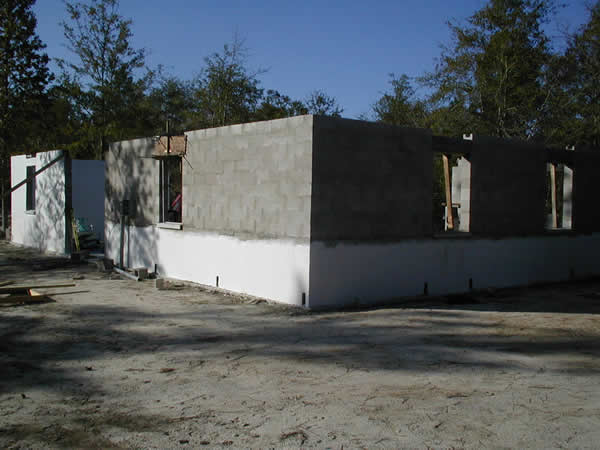
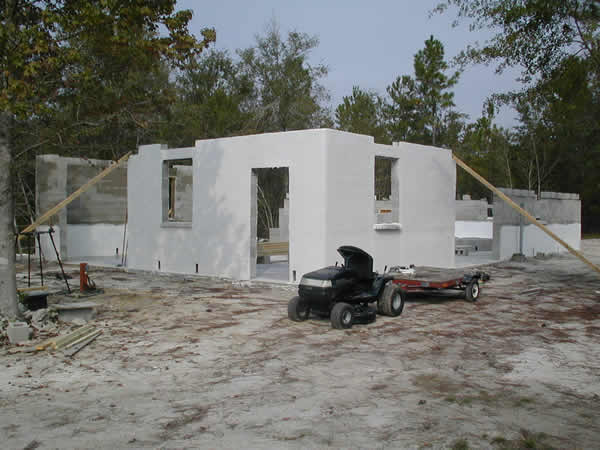
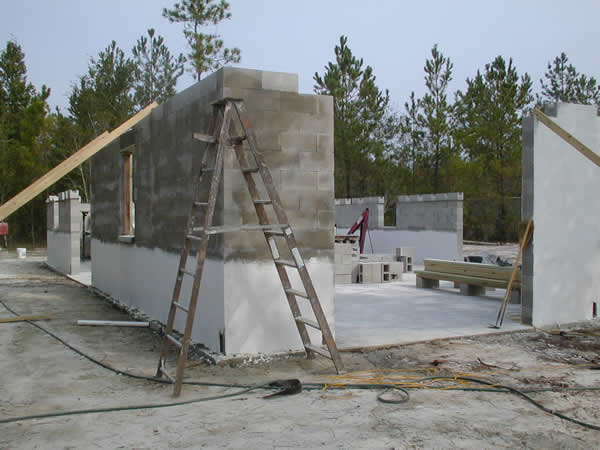
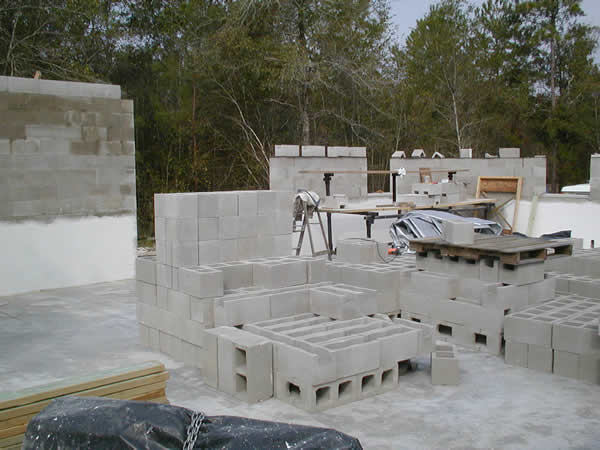
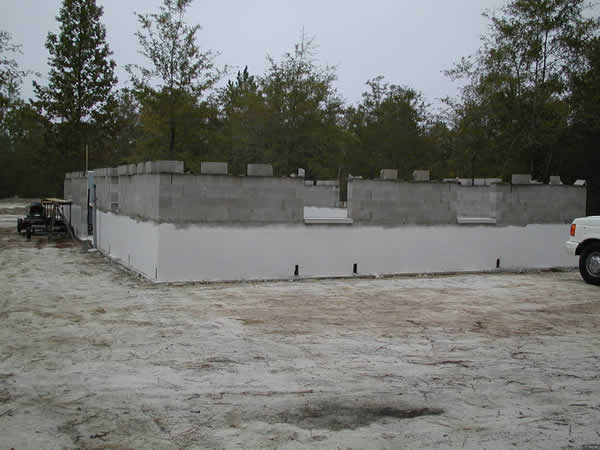
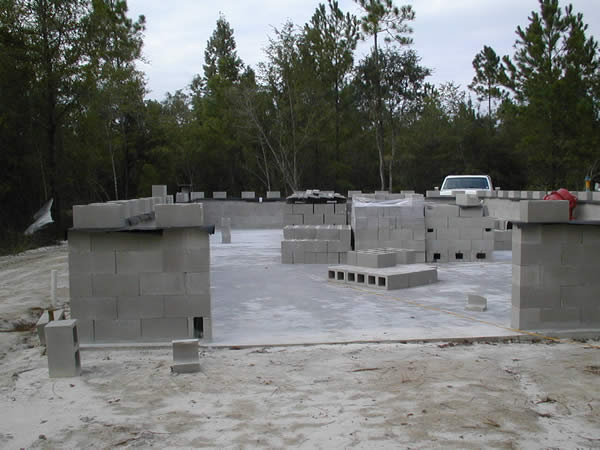
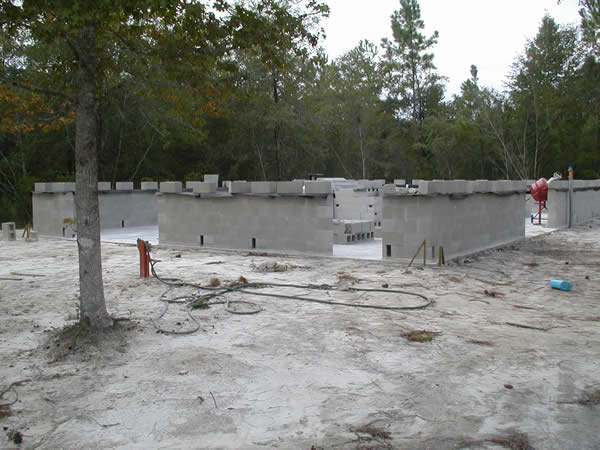
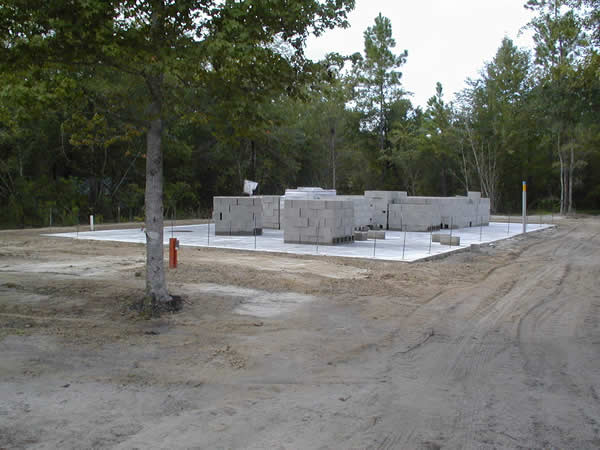
of blocks Dry stacking more blocks Freshly poured window header with forms removed Dry stacking more blocks South end of garage looking towards future house North end of garage North end of garage Dry stacking first corner. Car rotissorie reconfigured into Surface bonded first five rows, then brought entire building up four
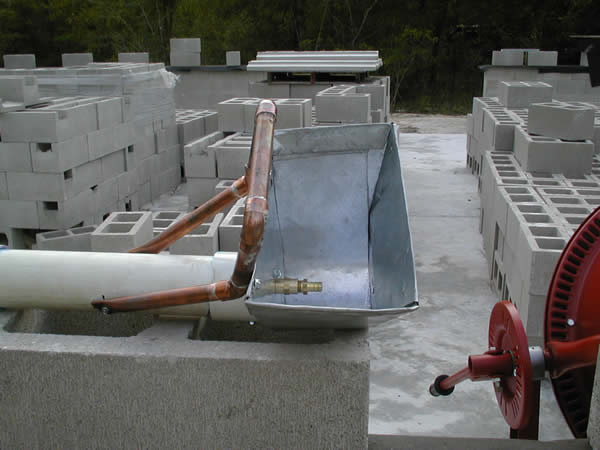
more rows Hand made surface bonding cement sprayer from plans found on the
internet by some guy in Made of 2 inch PVC pipe and 1/2 inch copper tubing and galvanized
tin scoop box. Trigger is a blow gun mounted within PVC with hose inside to the
sprayer nozzle. First five courses of block dry-stacked to window bottoms. Roll roofing
felt keeps rain out Holes at bottom are for building inspectors to verify rebar from
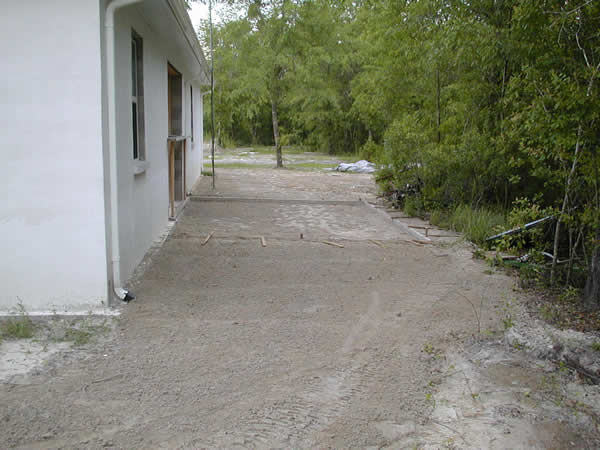
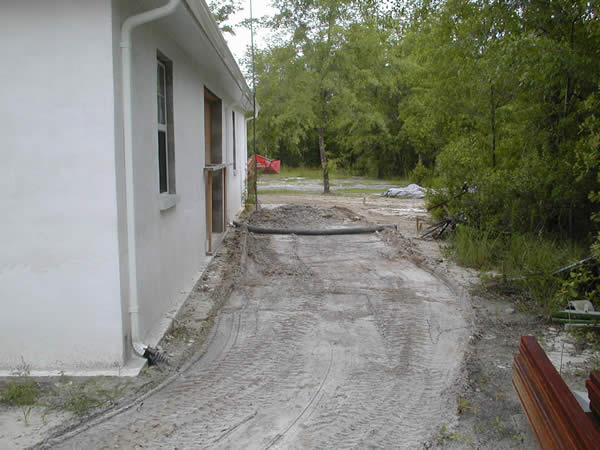
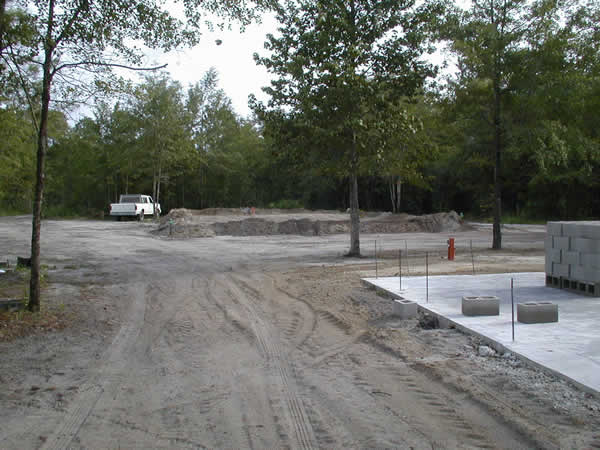
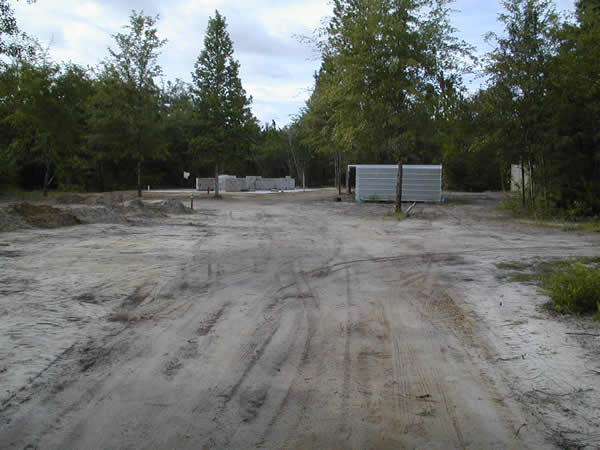
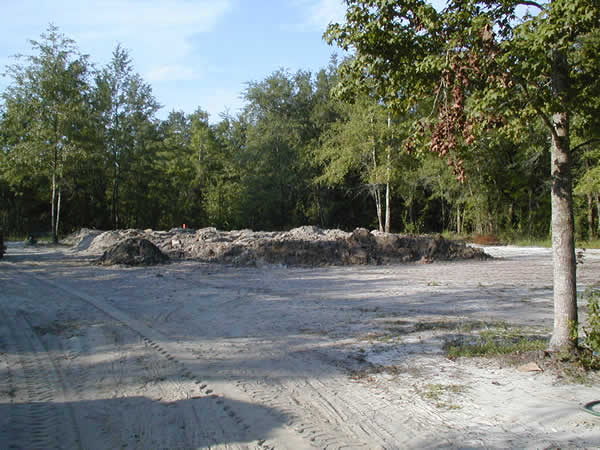
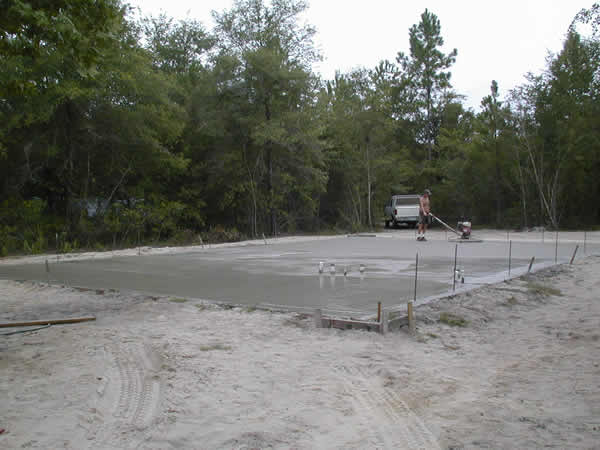
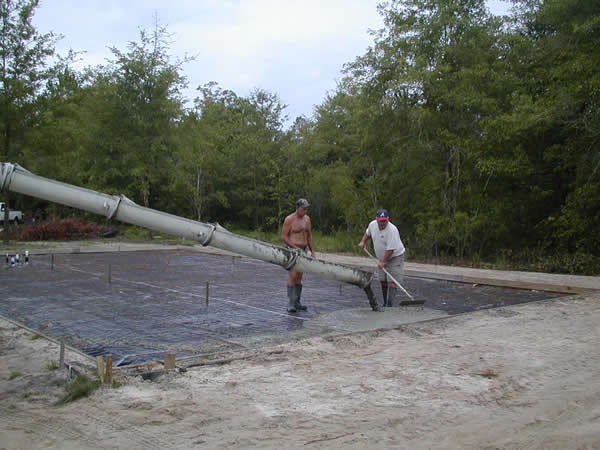
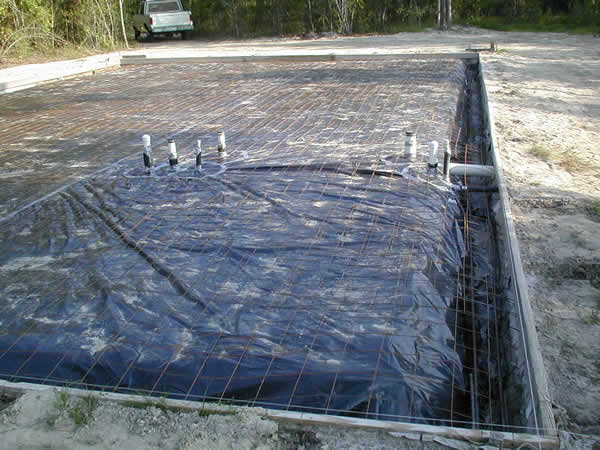
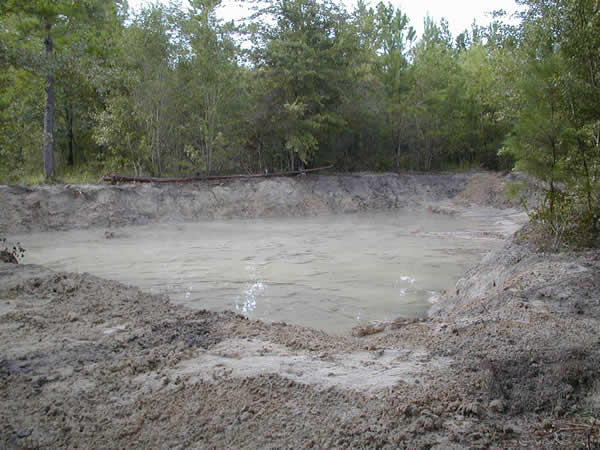
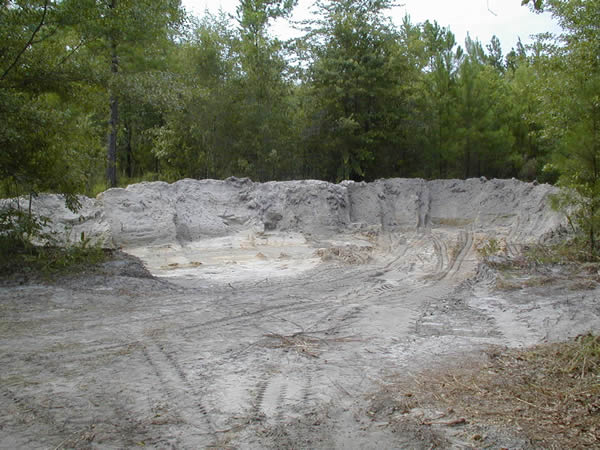
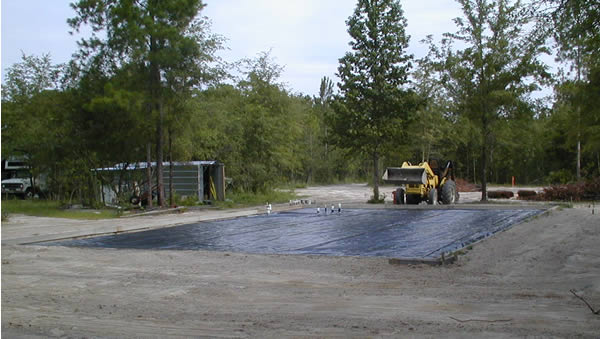
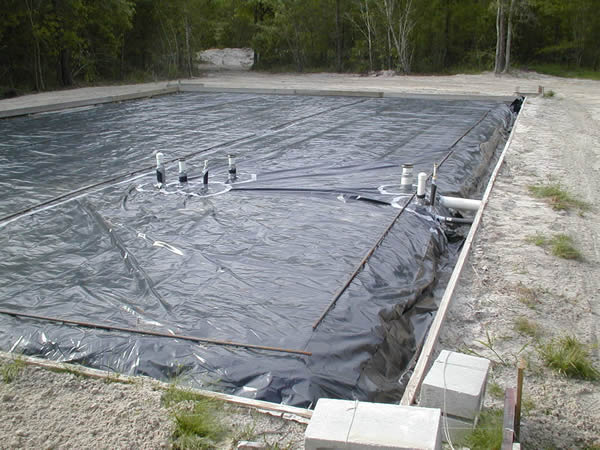
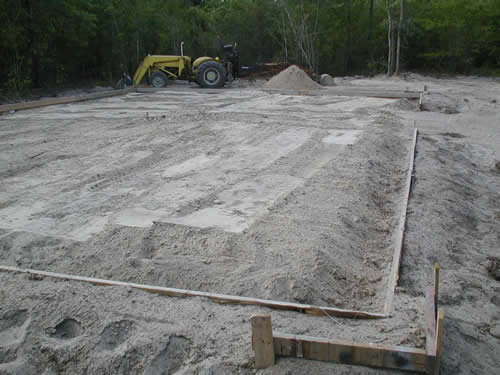
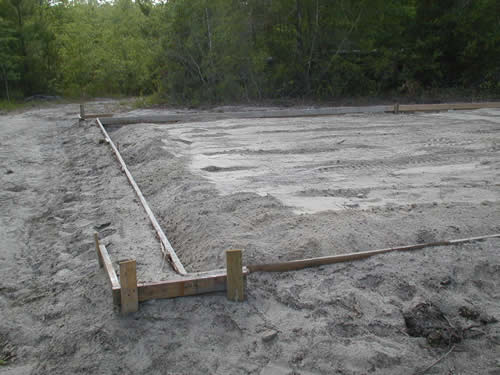
top bond-beam rebar Garage viewed from driveway which is cleared back to fifth acre. House fill graded level and bermed to prevent soil erosion. Garage slab with blocks delivered Driveway looking from first acre towards second acre, 2Sept04 House fill dirt as dug from sand pit. Contractor power trowling Contractor starting pour Mid Aug 04 Garage slab with iron work ready to pour. Finished Pond, about 80 feet on each side. 2Sept04 My own private sandpit. Started as 50' X 40' X 4' deep and growing. Raised grade level about 12 inches all around the garage slab. Termite treated, bagged and tagged, ready for iron work Rough slab plumbing 5 Aug 04 Garage slab after rough grading fill sand 5-30-04 Before digging the footer for monolithic slab Used neighbor's transit to set form height within 1/4 inch all around
perimeter. |